


The aBlocks Drip integration makes it easy to connect your WordPress site with Drip, a powerful eCommerce CRM. You can design custom signup forms with aBlocks and automatically sync new subscribers to your Drip account.
This integration lets you collect leads, trigger automated workflows, and run email campaigns without extra plugins. In this guide, you’ll learn how to set up the Drip API key in aBlocks and connect your forms so subscribers are instantly added to your Drip lists.
1. Log in to Your Drip Account
Go to drip.com and sign in to your account with your email and password.
2. Access Your User Settings
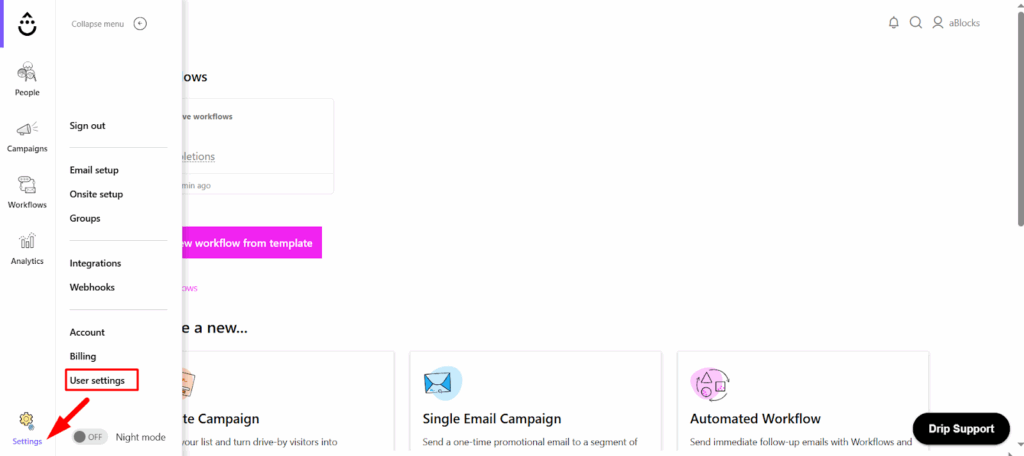
From your Drip dashboard, click on Settings in the left navigation bar. Inside the settings area, you’ll find User Settings — click on it to continue.
3. Generate a New API Token

Inside the User Settings page, scroll down until you find the API Token section. Copy your API token. This token is what allows aBlocks to securely communicate with your Drip account.
4. Add the API Key to aBlocks
After copying your API key, log in to your WordPress dashboard and navigate to aBlocks → Settings. From there, open the Integrations tab, where you’ll find the Drip Integration section.
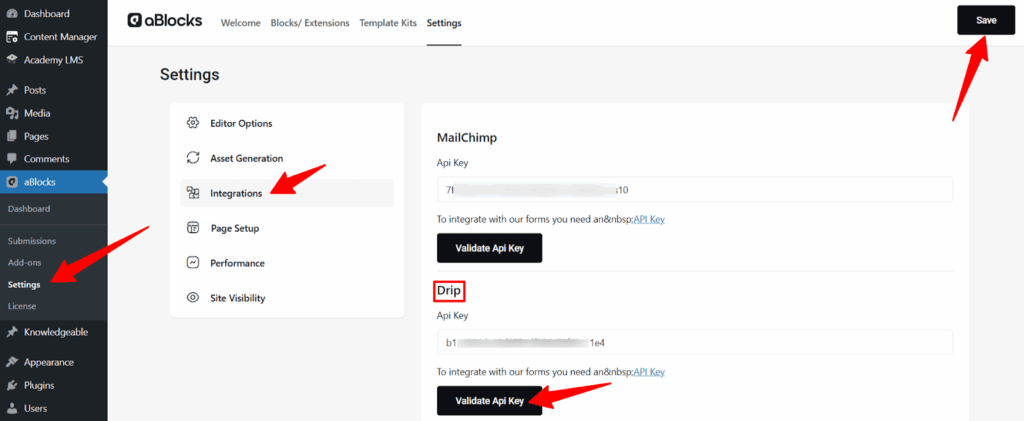
Paste the API token key you copied from Drip into the designated field, then click Save Changes. This will store your key securely and allow aBlocks to communicate with your Drip account.
5. Connect Your Form with Drip
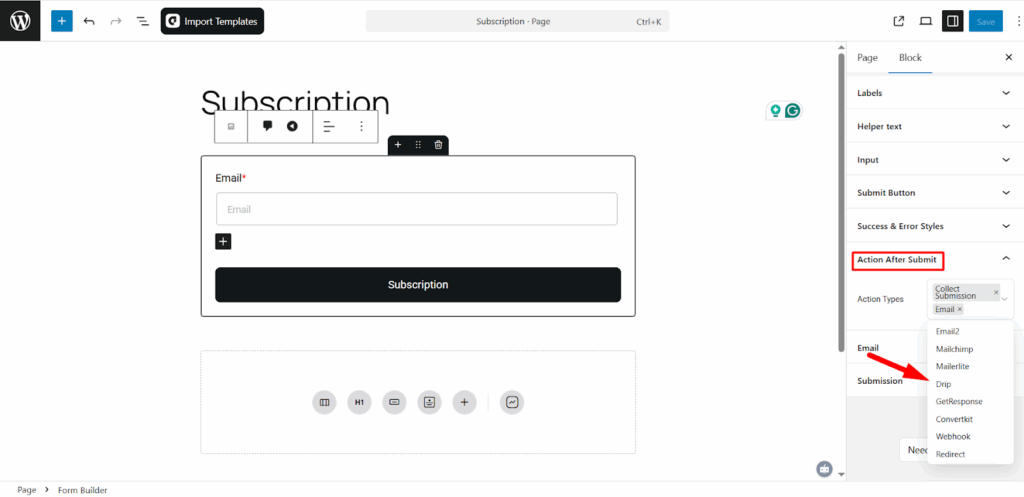
Now that your API token key is saved, the next step is to integrate your form with Drip. To do this, open any subscription form you’ve created with aBlocks. In the form’s parent settings, locate the Action After Submit option. From the dropdown, select Drip and save your changes.
When you select Drip from the action after submit, a Drip menu will appear. From there, configure all the settings.
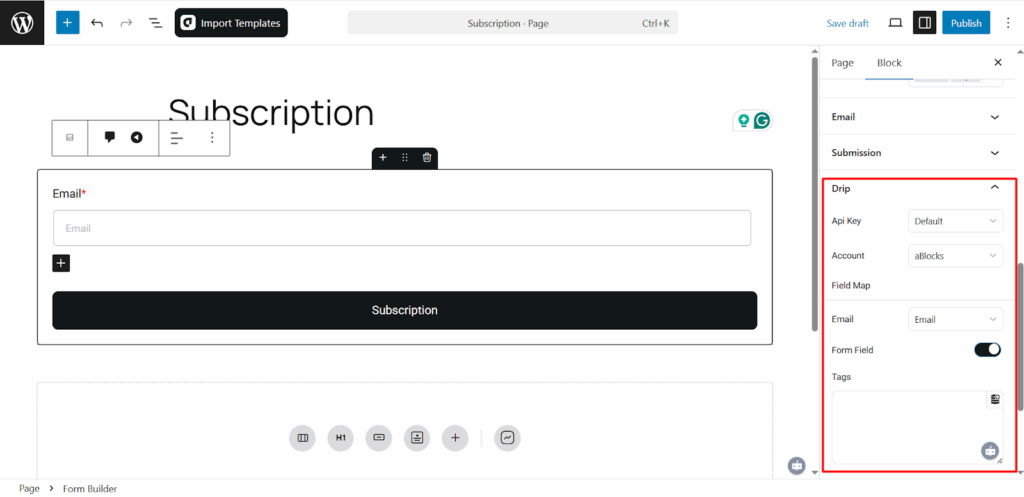
Once this is set, anyone who subscribes through that form will automatically be added to your chosen Drip list.