


Loop Builder by aBlocks gives you full control over how you display posts, pages, products, custom post types, or any custom post type available on your site. You can go with the default design of the loop builder, also you can design your loop from scratch using any layout, structure, or block you want. You decide how each post should look. Ideal for blogs, listings, product grids, and dynamic content layouts.
This block is flexible, lightweight, and works perfectly inside Full Site Editing, templates, or regular pages.
How to Add the Loop Builder
Log in to your WordPress dashboard, navigate to the section of your page/post where you want to add the loop builder.

Click the ( + ) button to add a block, search for “Loop Builder,” select the Loop Builder (aBlocks) block, and insert it.
When you insert the aBlocks Loop Builder block into the editor, you’ll be prompted to choose how you want to start building the loop. There are two options shown:
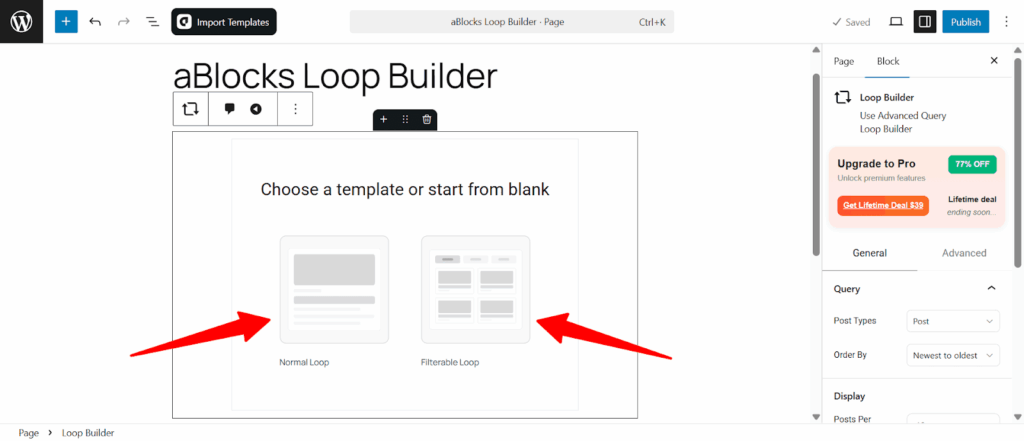
Normal Loop
This option creates a standard post loop layout. It displays posts (or products/custom types) in a basic list or grid, based on your selected layout settings.
Filterable Loop
This option lets users filter the posts dynamically by categories, tags, or other taxonomy terms. Choose this if you want your visitors to refine content on the frontend using filters.
Insert Inner Blocks (Structure Your Loop)
After inserting the Loop Builder block, you’ll see a prompt to add inner blocks. These inner blocks define the layout of each post item in the loop.
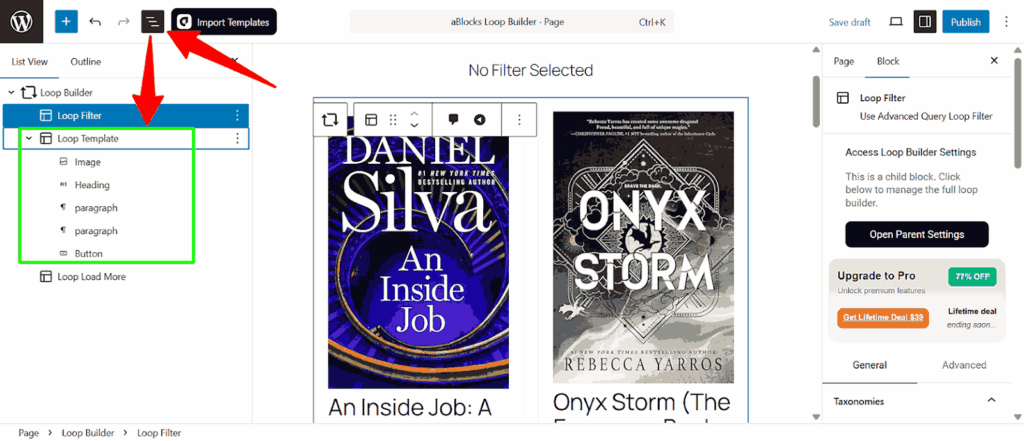
Go to the document overview to see the blocks that are showing. You can add or delete any block as needed, such as Post Title, Post Image, Post Date, etc.
Once this is set, the block will automatically repeat your inner layout for every matching post/product.
Loop Builder Block Settings
After adding the Loop Builder block, you’ll find all customization options in the right sidebar under the “Block” tab. These settings let you control what posts are shown and how they appear.
All settings are organized into 3 main sections:
1. Query
This section controls the type of content the loop should display.
- Post Types
Choose the post type to show. You can select from Post, Page, Product, Theme Builder, Access Group, or any custom post type available on your site.
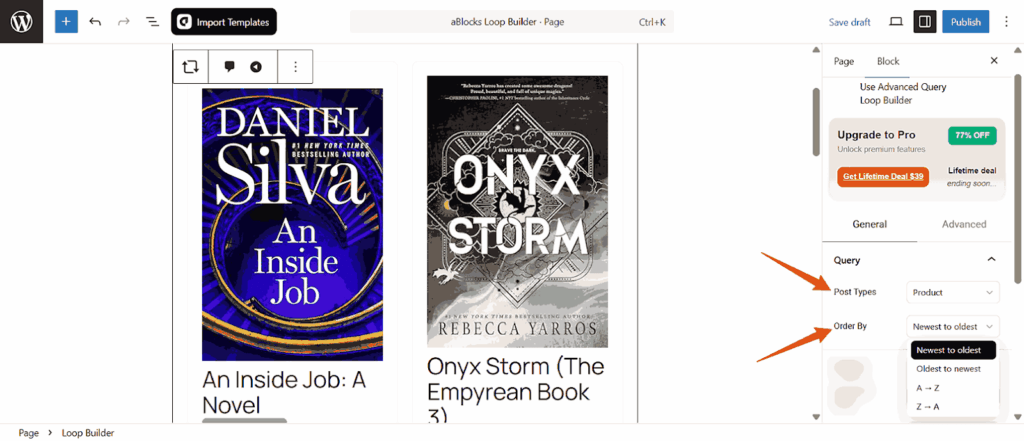
- Order By
Set how the posts are sorted. Options include:
- Newest to Oldest
- Oldest to Newest
- A-Z
- Z-A
- Newest to Oldest
2. Display
This controls how many posts are shown and which ones.
- Posts Per Page
Set the number of posts you want to display in one view. Example: setting it to 10 will show the latest 10 posts/products.
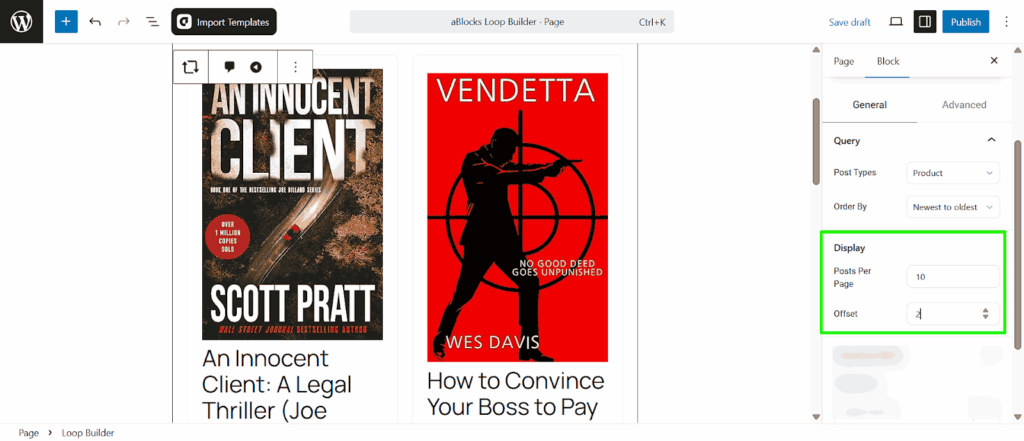
- Offset
Skip a number of posts before starting the loop. Useful for excluding featured posts or running staggered layouts.
Example: An offset of 1 skips the first post.
3. Taxonomy Filter
Use this section to narrow down the posts shown based on category or tag.
- Categories
Select one or more categories to show only posts/products that match.
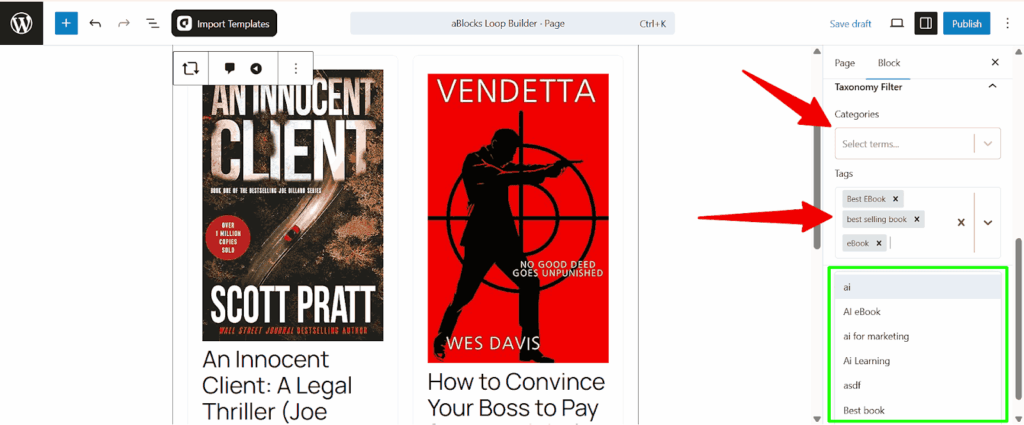
- Tags
- Same as above, but with tags instead of categories.
These filters are dynamic — if you change your selection, the block updates automatically to show matching content.
Loop Filter
The Loop Filter block allows users to filter displayed posts or products by taxonomy terms like categories, tags, or any custom taxonomy. This enhances user experience by giving them control over what they want to view from your loop listing.
Select Taxonomy
Choose which taxonomy you want the filter buttons to use. This can be Tags, Categories, or any custom taxonomy you’ve registered.
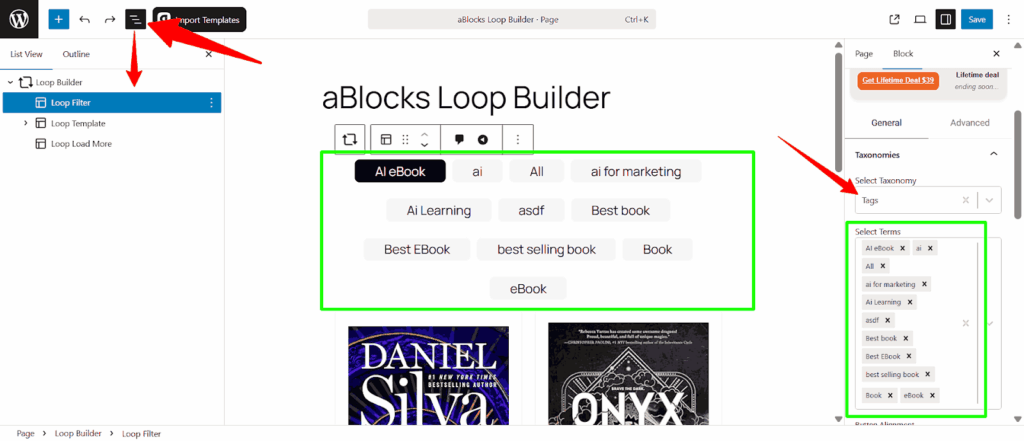
Select Terms
After choosing the taxonomy, all available terms will be listed. You can then pick specific terms to be used as filter buttons.
Filter Customization
Inside the Loop Filter block, you can customize the appearance and layout of the filter buttons.
Button Alignment
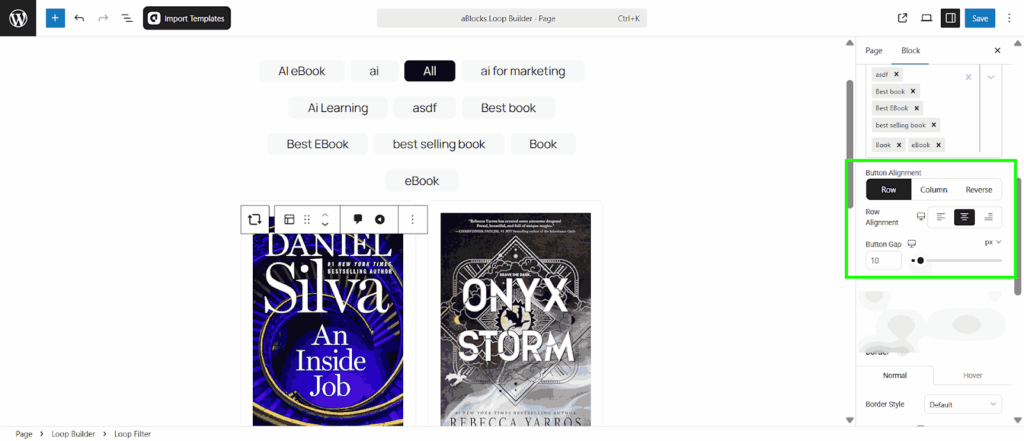
- Row / Column / Reverse: Controls the layout direction of the filter buttons.
- Alignment: Choose alignment (left, center, right).
- Button Gap: Adjusts spacing between buttons.
Filter
Customize the filter as per your needs.
Content
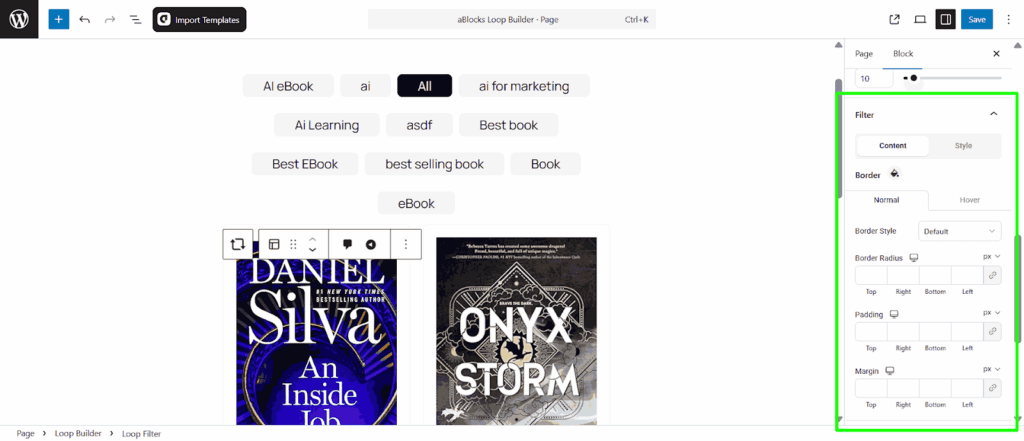
- Border Style: Select the type of border (e.g., Solid, Dashed, None).
- Border Radius: Set corner rounding individually for Top, Right, Bottom, and Left (in pixels).
- Padding: Control inner spacing (Top, Right, Bottom, Left).
- Margin: Set the outer spacing of each filter button (Top, Right, Bottom, Left).
Style
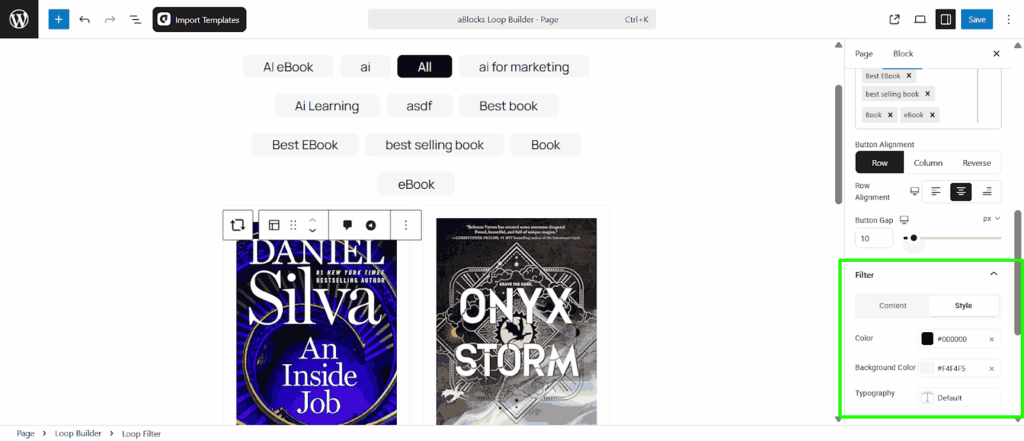
- Color: Sets the text color of the inactive filter buttons.
- Background Color: Sets the background color of the button.
- Typography: Controls font family, size, weight, and more.
Active Style Filter
Style the filter button that is currently active (selected).
Content
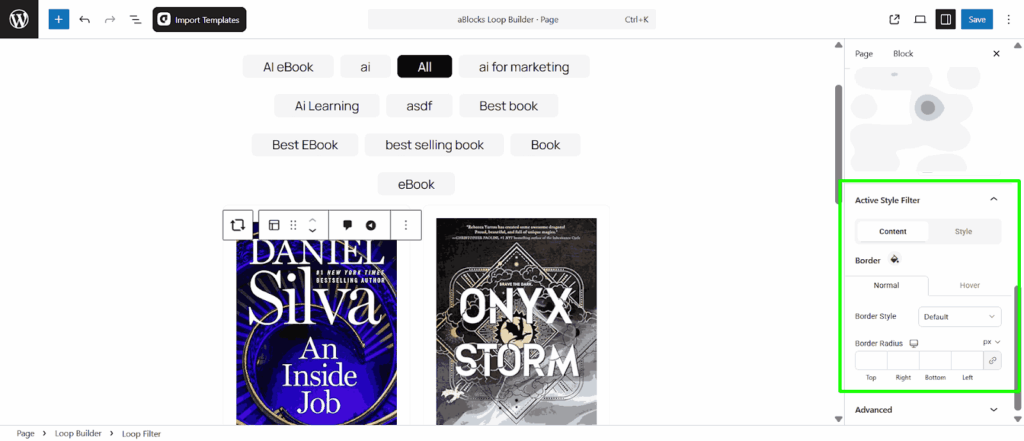
- Normal / Hover: Toggle between normal and hover styles for the active filter.
- Border Style: Choose how the border appears when the filter is active (Default, Solid, None, etc.).
- Border Radius: Adjust corner roundness (Top, Right, Bottom, Left) in pixels.
Style
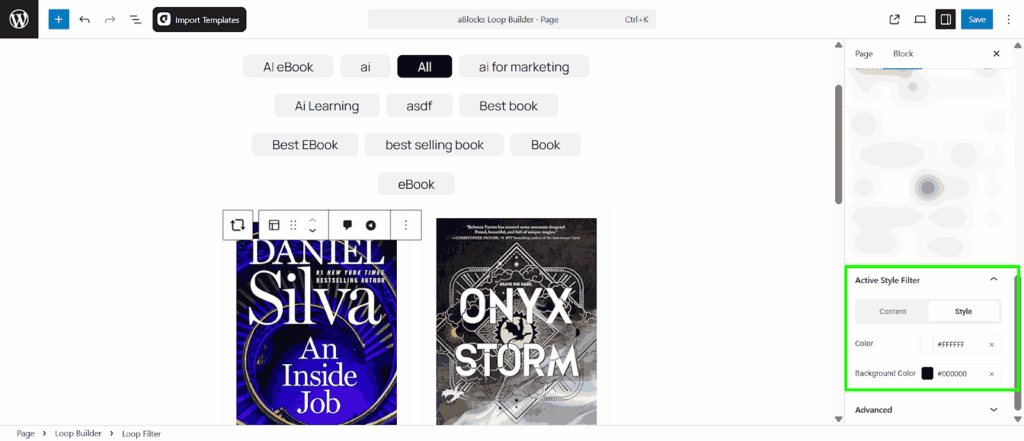
- Color: Sets the text color of the currently selected filter.
- Background Color: Sets the background of the active filter button.
Load More Button
At the bottom of the loop, a Load More button is shown. It allows users to dynamically load more posts without refreshing the page.
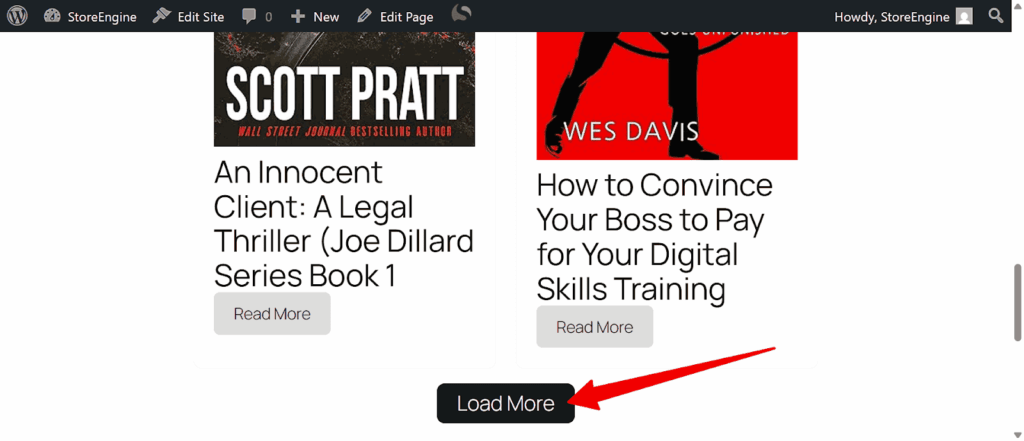
Example behavior: If you set Posts Per Page = 2, the page will initially show 2 items. Clicking Load More will display 2 more items, and so on, based on your total available posts/products.
Conclusion
The Loop Builder block in aBlocks gives you full control over how content is displayed—whether it’s blog posts, products, or custom post types. From filtering by category to customizing the layout with inner blocks, it’s built to help you create dynamic, visually consistent sections without writing code.