


The aBlocks Content Timeline Block lets you showcase events, milestones, or project progress in a structured vertical layout. It is ideal for displaying historical events, company growth, step-by-step guides, or any chronological content. Each timeline item can include a title, description, date, and icon, making it easy to highlight key moments. With extensive customization options, you can adjust colors, typography, spacing, and layout to match your website’s design seamlessly.
Add aBlocks Content Timeline Block
Open your WordPress dashboard and navigate to the page or post where you want to insert the content timeline. You can also create a new page for a fresh layout.
If you want to add it to your new page, click the plus (+) icon or the top left on your edit page. In the block search bar, type “Content Timeline.” Click on the aBlocks Content Timeline Block, and it will be added to your page.

You can also use the quick action bar at the bottom of the page.

Once inserted, you will see various container layout options. Pick the container layout that best fits your design needs by clicking on it. Then take the content timeline on the container.
How to Customize aBlocks Content Timeline Block
To start customizing, select the Content Timeline parent block (open the Editor List View sidebar to easily navigate.
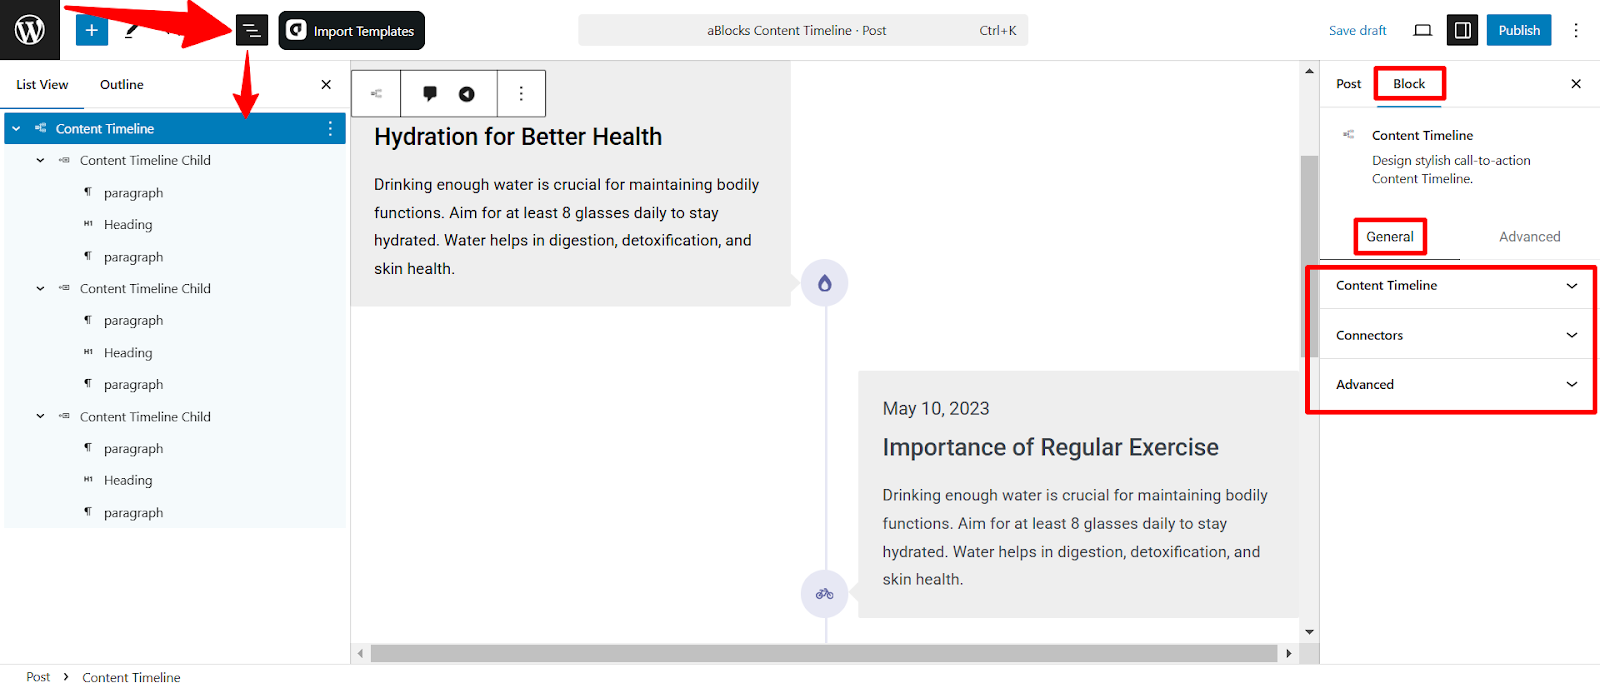
all timeline elements). Then navigate to Block > General in the settings panel.
Here, you will find extensive customization options to enhance the design and functionality of your timeline.
Let’s describe one by one.
Content Timeline
The Content Timeline section allows you to control and customize the timeline of how items are displayed, including content position, arrow alignment, and date visibility.
Content
- Content Position: Choose where the content appears relative to the timeline:
- Left – Aligns content to the left side.
- Center – Centers content along the timeline.
- Right – Aligns content to the right side.
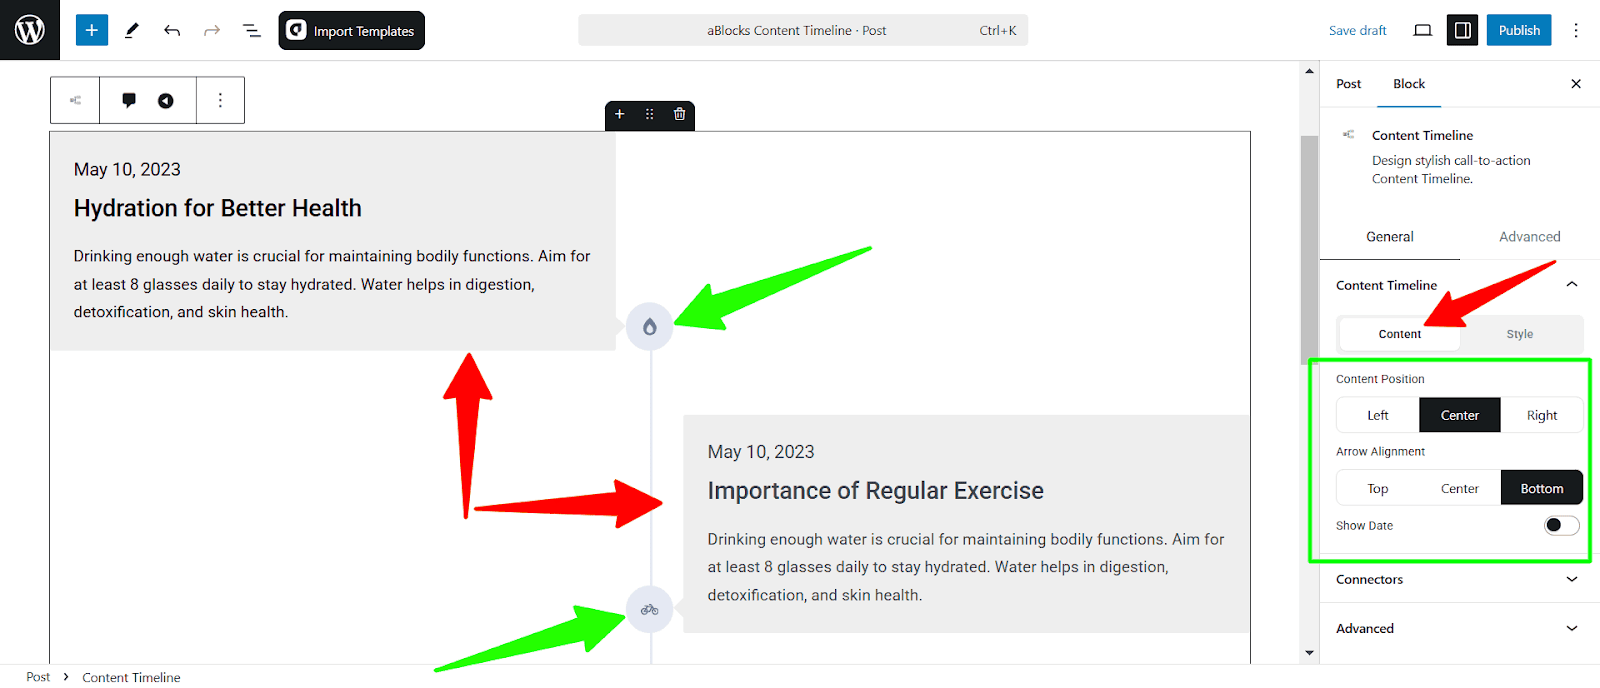
- Arrow Alignment: Set the position of the arrows pointing to the timeline items to the Top, Center, and Bottom.
- Show Date: Toggle this option to show or hide the date on timeline items. When you will allow to show the date then you will foud a new customization option: Date
Style
- Background: Set the background color for timeline items to match your design.
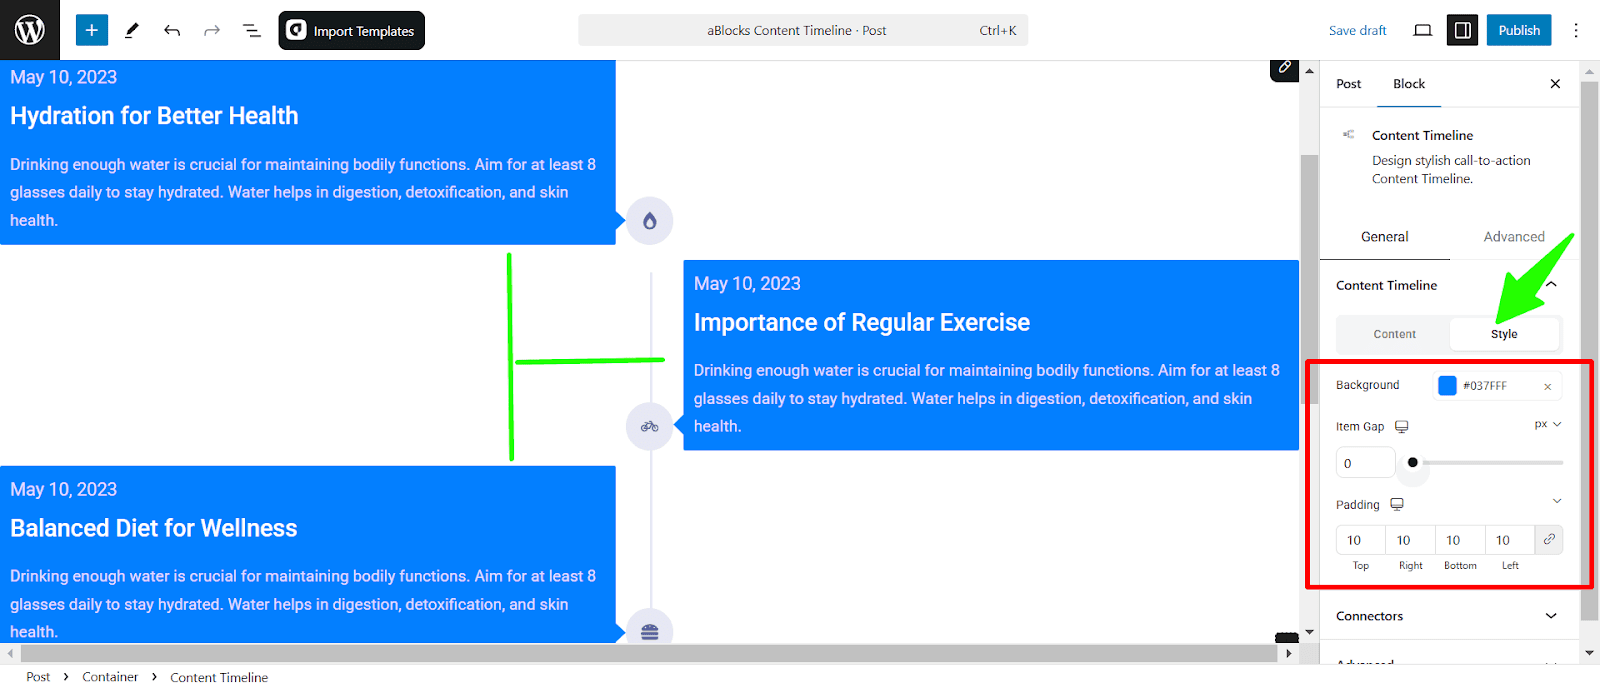
- Item Gap: Adjust the spacing between timeline items using the slider or enter a specific value in pixels.
- Padding: Control the padding inside each timeline item by setting values for the top, right, bottom, and left sides.
Date
The Date section lets you configure and customize how dates appear on the timeline.
Content
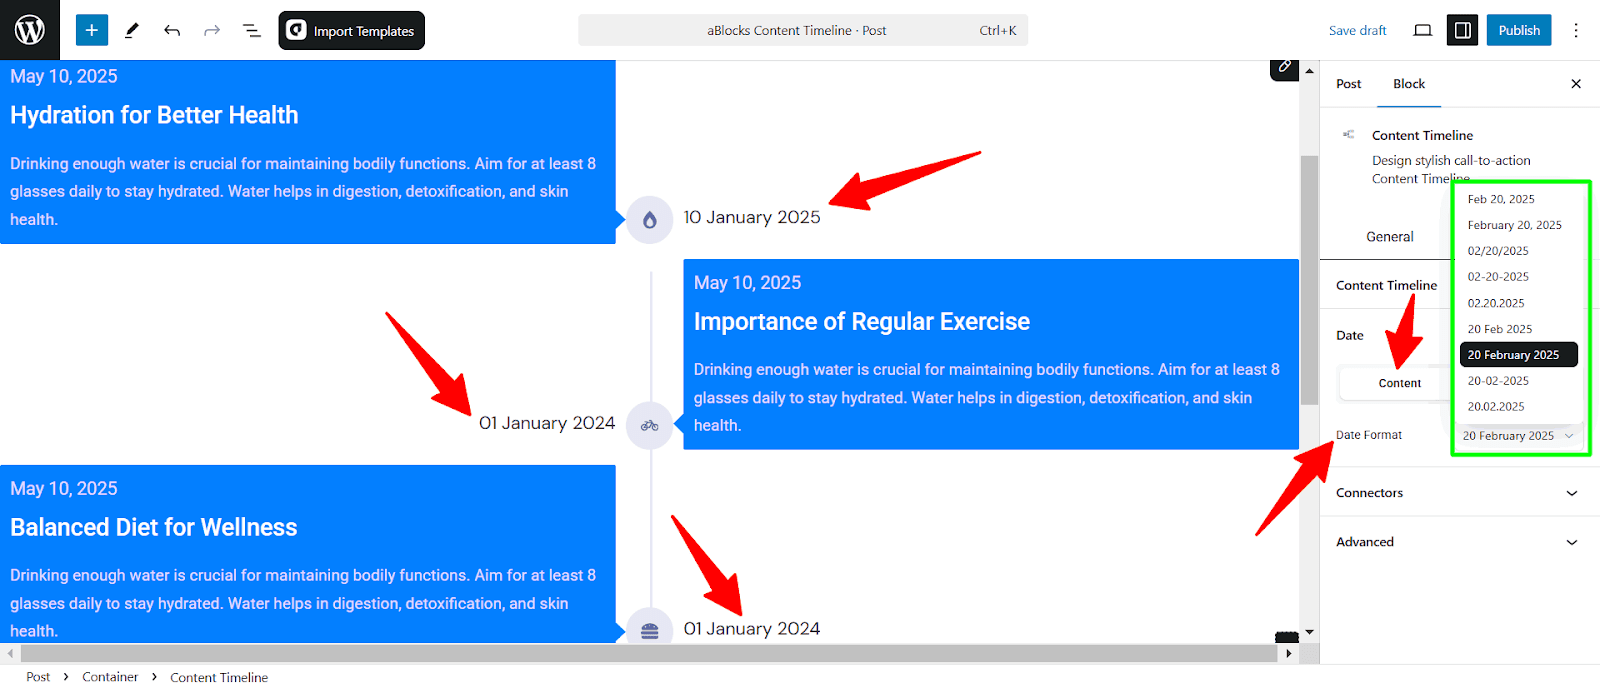
- Date Format: Select the preferred date format for timeline entries. Use the dropdown menu to choose from different formats.
Style
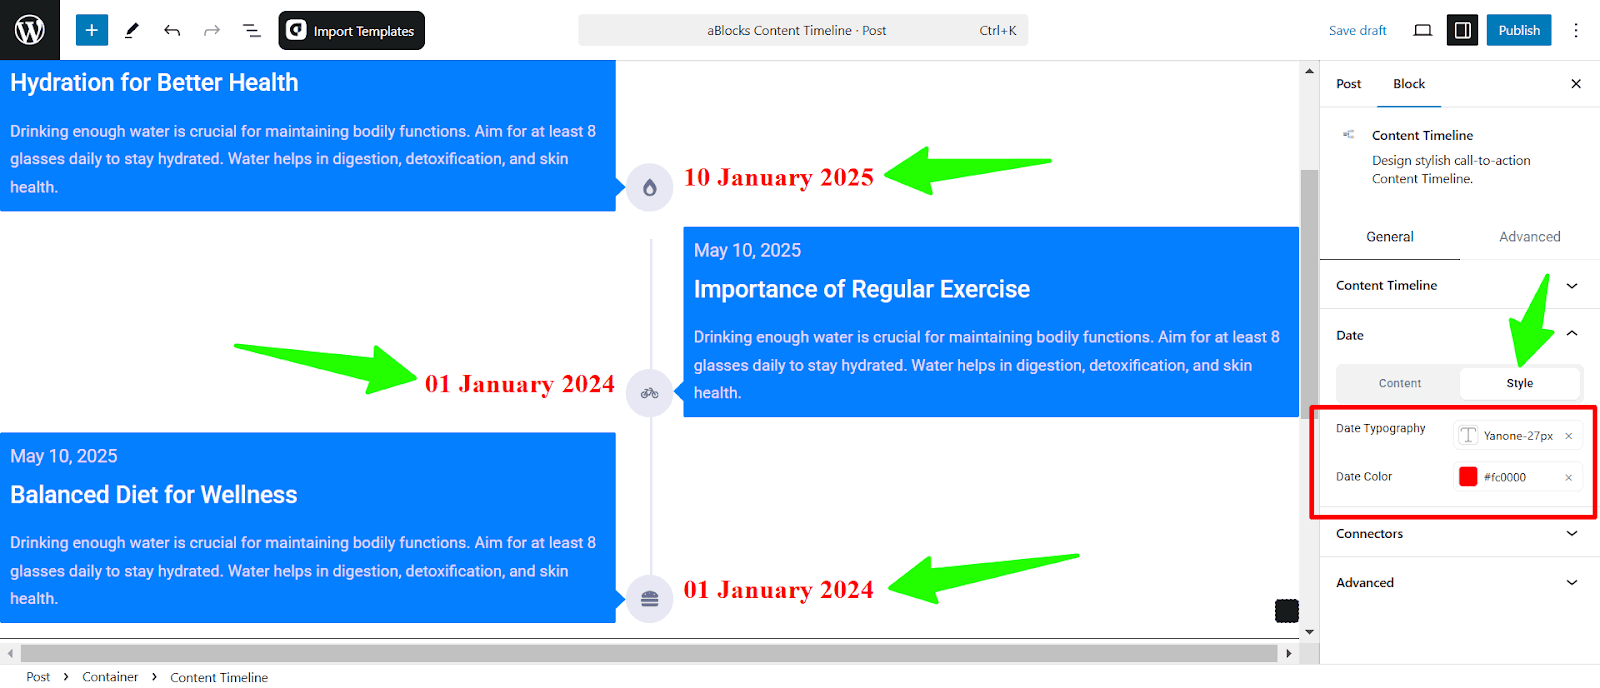
- Date Typography: Choose a typography style for the date text to align with your site’s design.
- Date Color: Set the color of the date text to enhance visibility and match your theme.
Connectors
Connectors visually link timeline items and connectors’ style to enhance clarity and structure in the content timeline.
Content
- Icon: Select an icon to represent each connector.
- Icon Size: Adjust the size of the connector icon for better visibility.
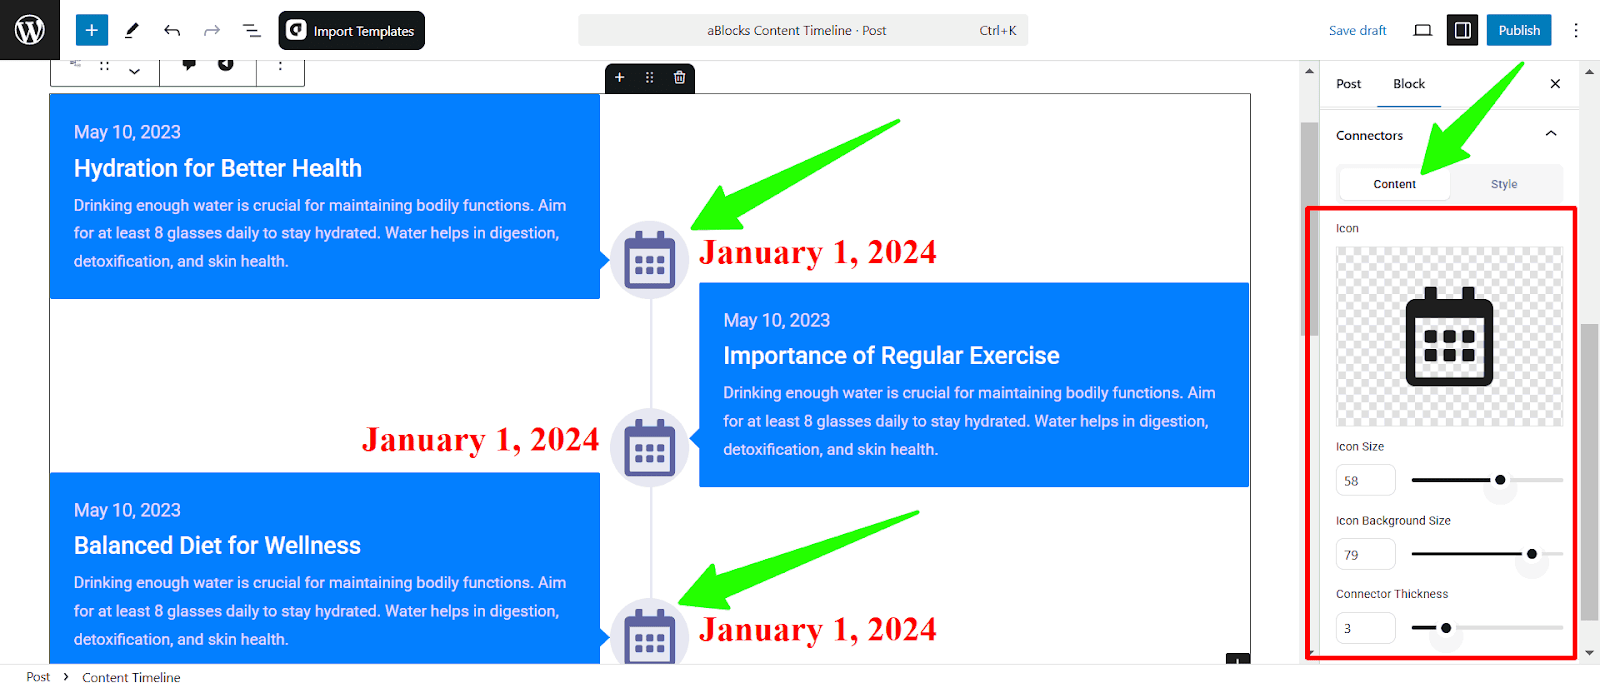
- Icon Background Size: Modify the background-size around the icon to balance design proportions.
- Connector Thickness: Control the line thickness connecting timeline items for a refined look.
Style
- Connector Color: Sets the color of the connecting line between timeline items.
- Show Animation: Enables or disables animation effects for the connectors.
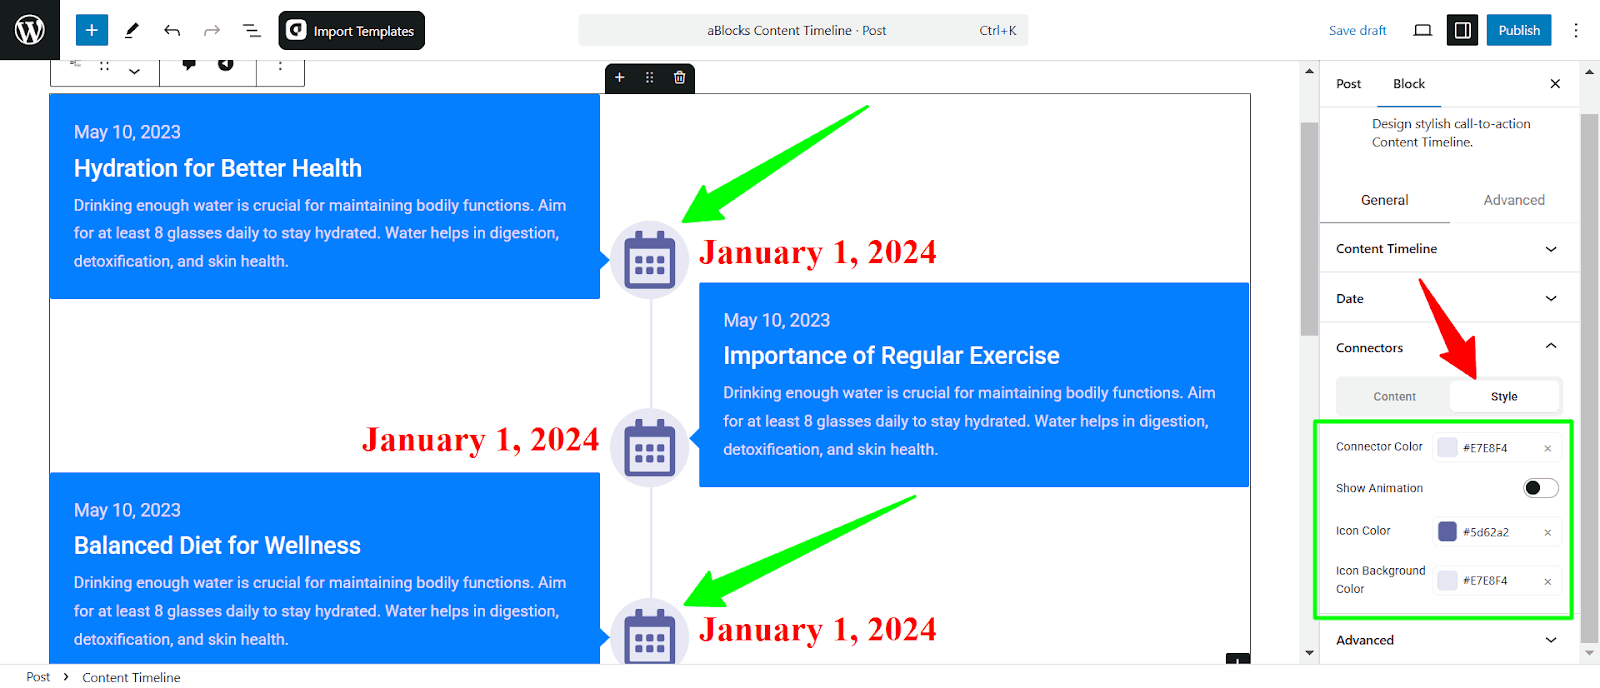
- Icon Color: Defines the color of the icons within the connectors.
- Icon Background Color: Adjust the background color behind the icons for contrast and visibility.
Content Timeline Child Customization
The Content Timeline Child block lets you customize individual timeline items, including date settings, icons, and content structure. To customize Content Timeline Child, first select the Content Timeline Child.
Below are the customization options available:
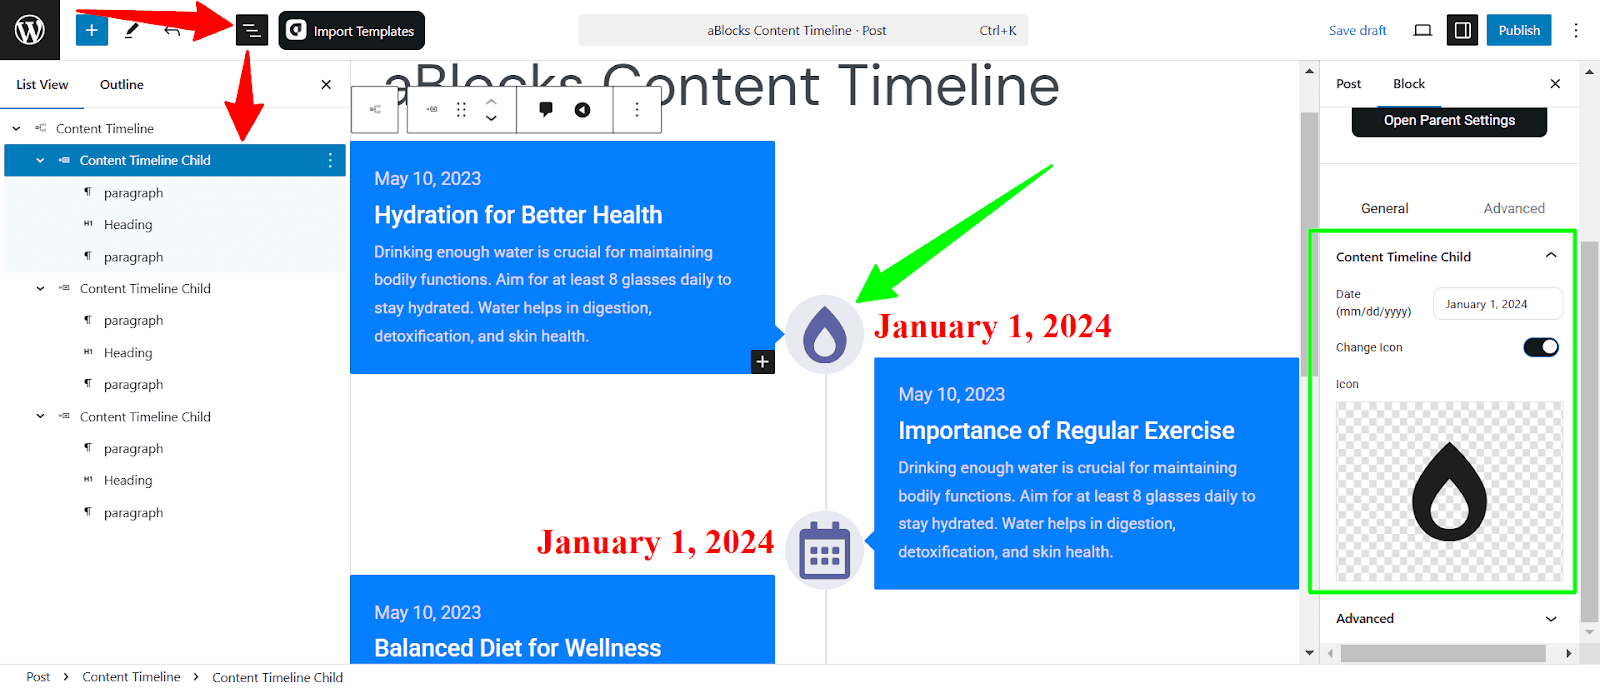
- Date: Set a specific date for the timeline item
- Change Icon: Enable or disable custom icons for each timeline item.
- Icon: Choose an icon from the available options or upload a custom one.
Conclusion
This structure provides clear instructions and covers all essential features of the aBlocks Content Timeline. Let me know if you want additional sections or refinements! Just create a support ticket, our dedicated support team is always ready to help—reach out anytime