


Welcome to the aBlocks Star Rating Block documentation! This guide will help you easily add and customize a star rating system on your WordPress website using the aBlocks plugin. Whether you want to collect feedback, showcase reviews, or simply enhance your content, the Star Rating Block offers a range of customization options, including scale, icons, colors, alignment, and more. Follow along to learn how to create and style star ratings that perfectly match your site’s design. Let’s get started!
Add aBlocks Star Rating Block
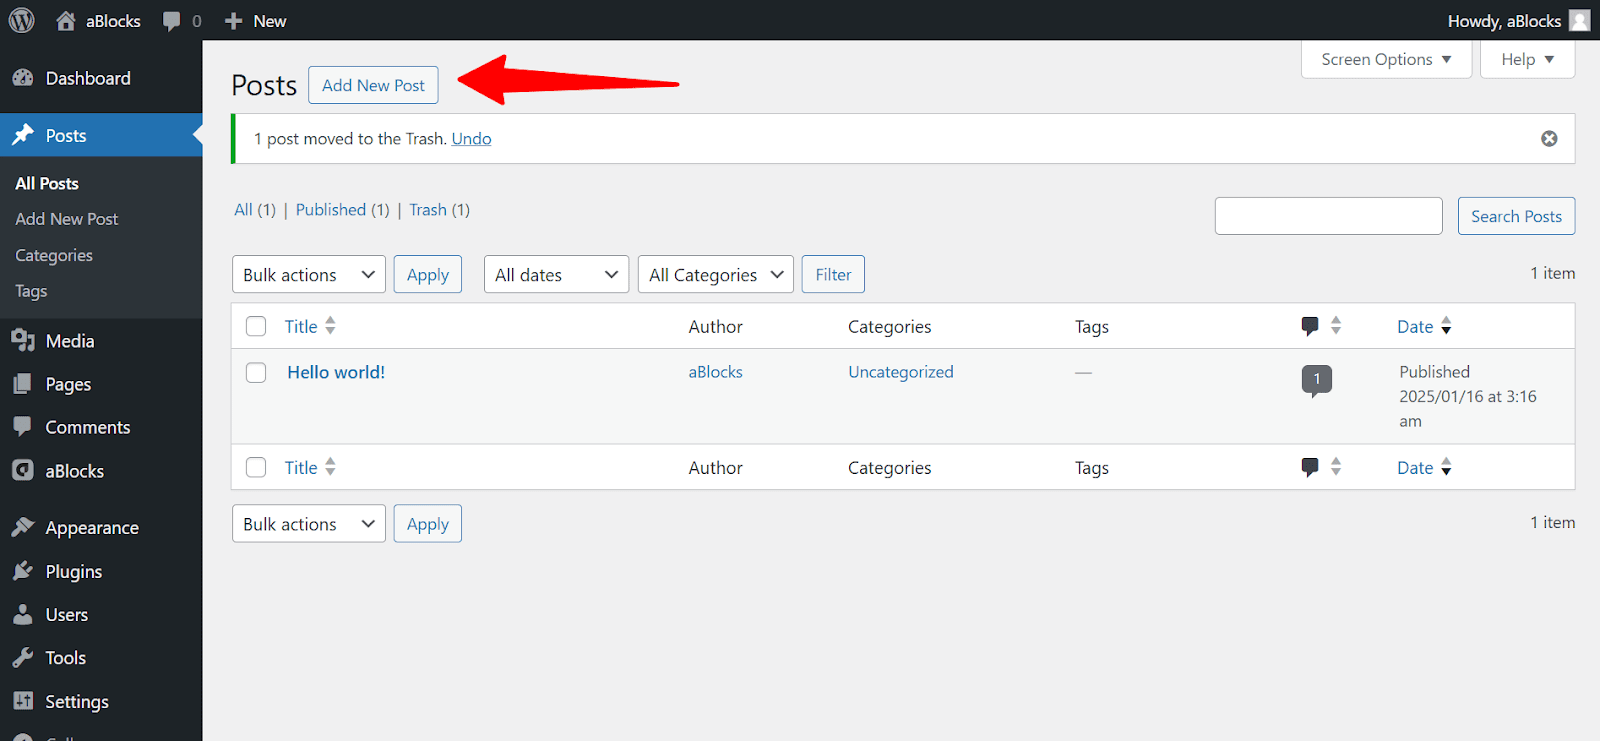
First, navigate to your WordPress dashboard and open a new post by clicking Add New Post. A new post page will appear.
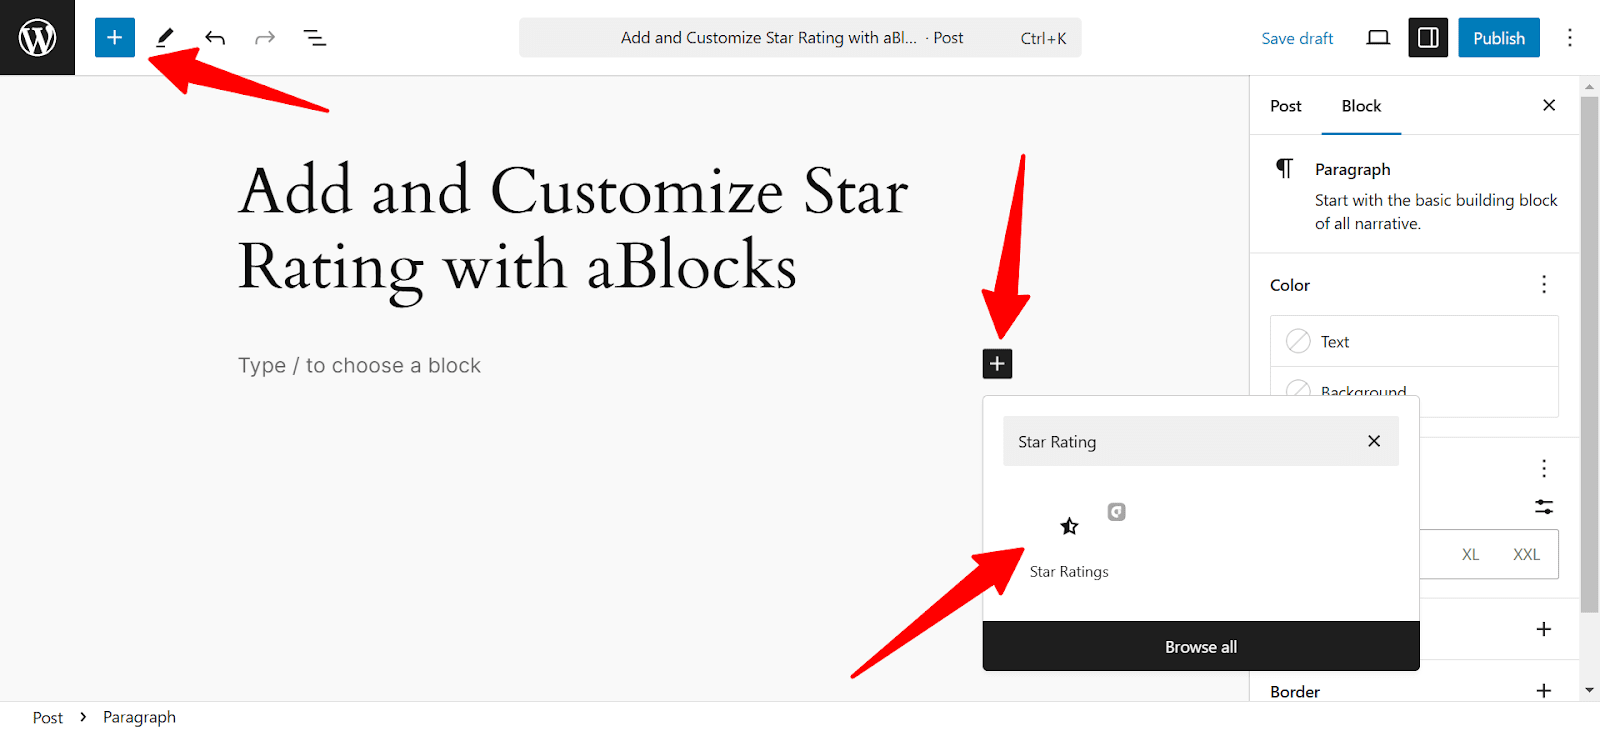
Click the plus icon (+) from the page or at the top left. All the blocks will appear here. Now search for the Star Rating block, then click on the aBlocks Star Rating block.
Customize Star Rating
The aBlocks Star Ratings blocks will appear on your page. Now to customize the Star Ratings go to the right-side panel Block>General and explore the vast library of aBlocks Star Rating customization.
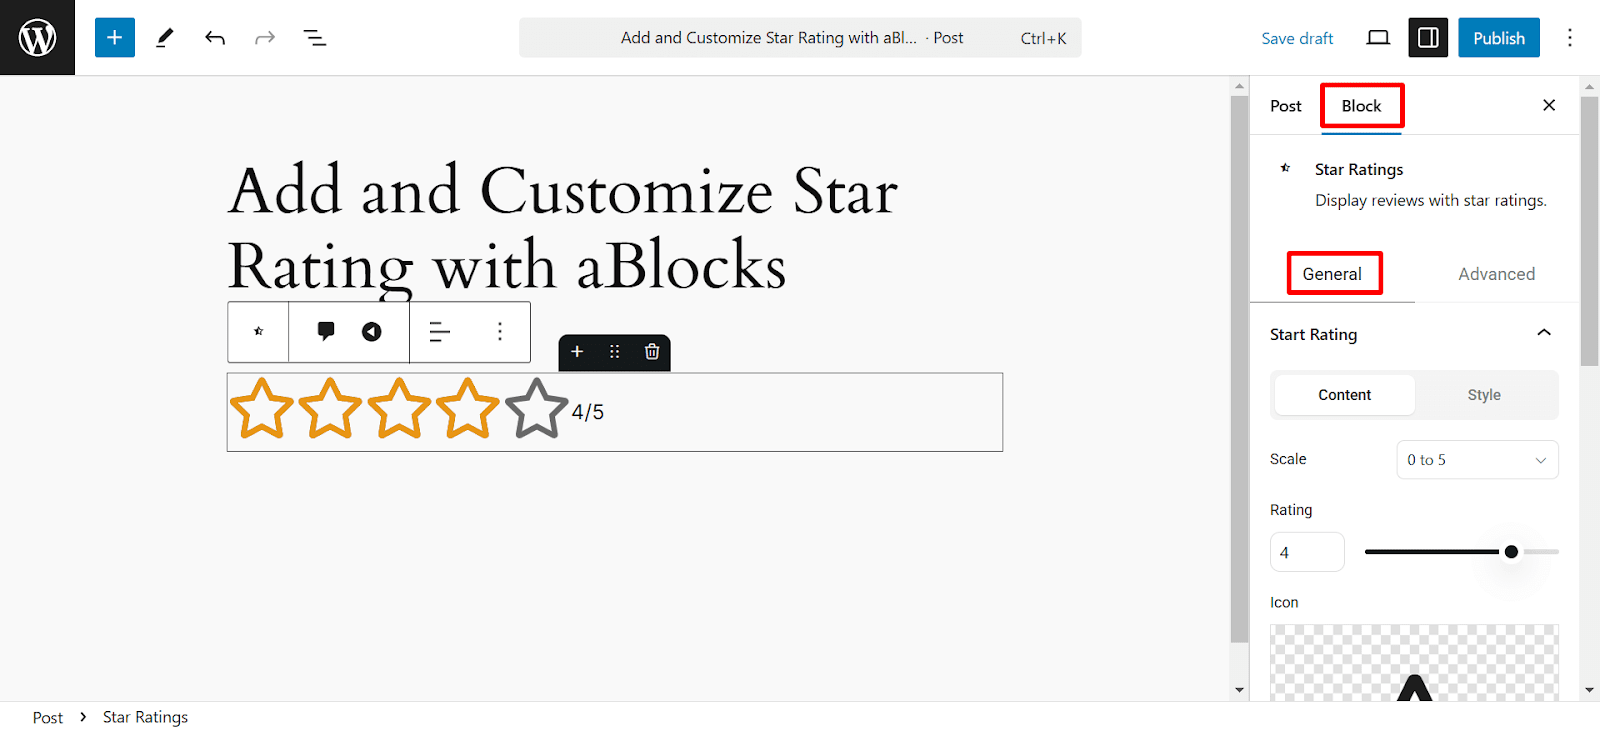
In Star Rating general, you will see two different options: Content and Style. Let’s describe one by one.
Star Rating Content
In the Content section, you can manage the core settings for star rating. Let’s describe one by one:
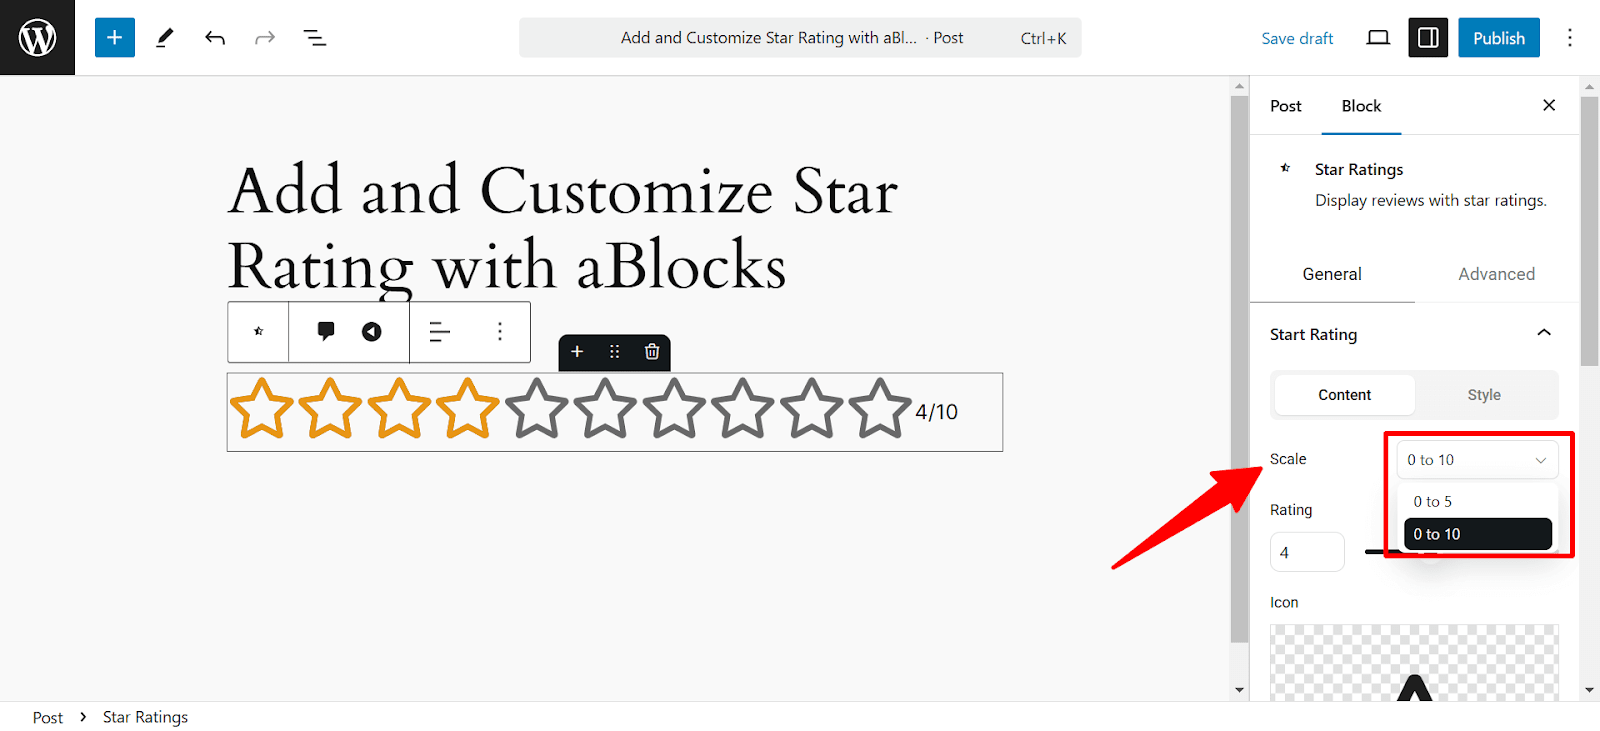
Scale: The scale determines your rating range. You can set it between 0 to 5 or 0 to 10 depending on your preference.
Rating: In the rating section you can set the number of ratings.
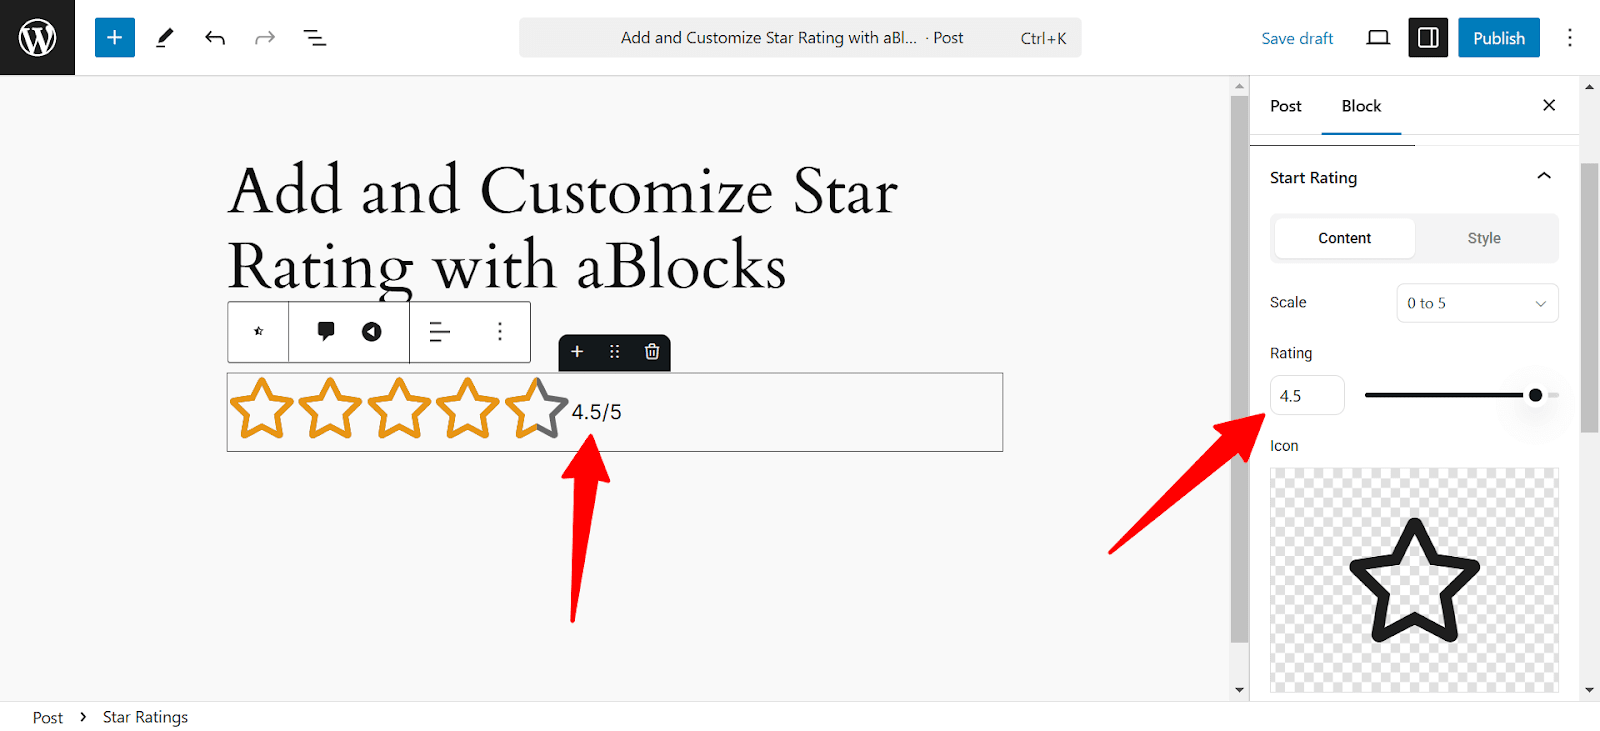
Icon: Click over the icon to see a vast library of icons. In the top left, you will find a search box. Here, you can search for which icon you need. Click on your chosen icon to import it into your rating.

Size: You can define the size of your star rating icon here. Simply put a value in the box or drag the pointer to adjust your Star Rating size.
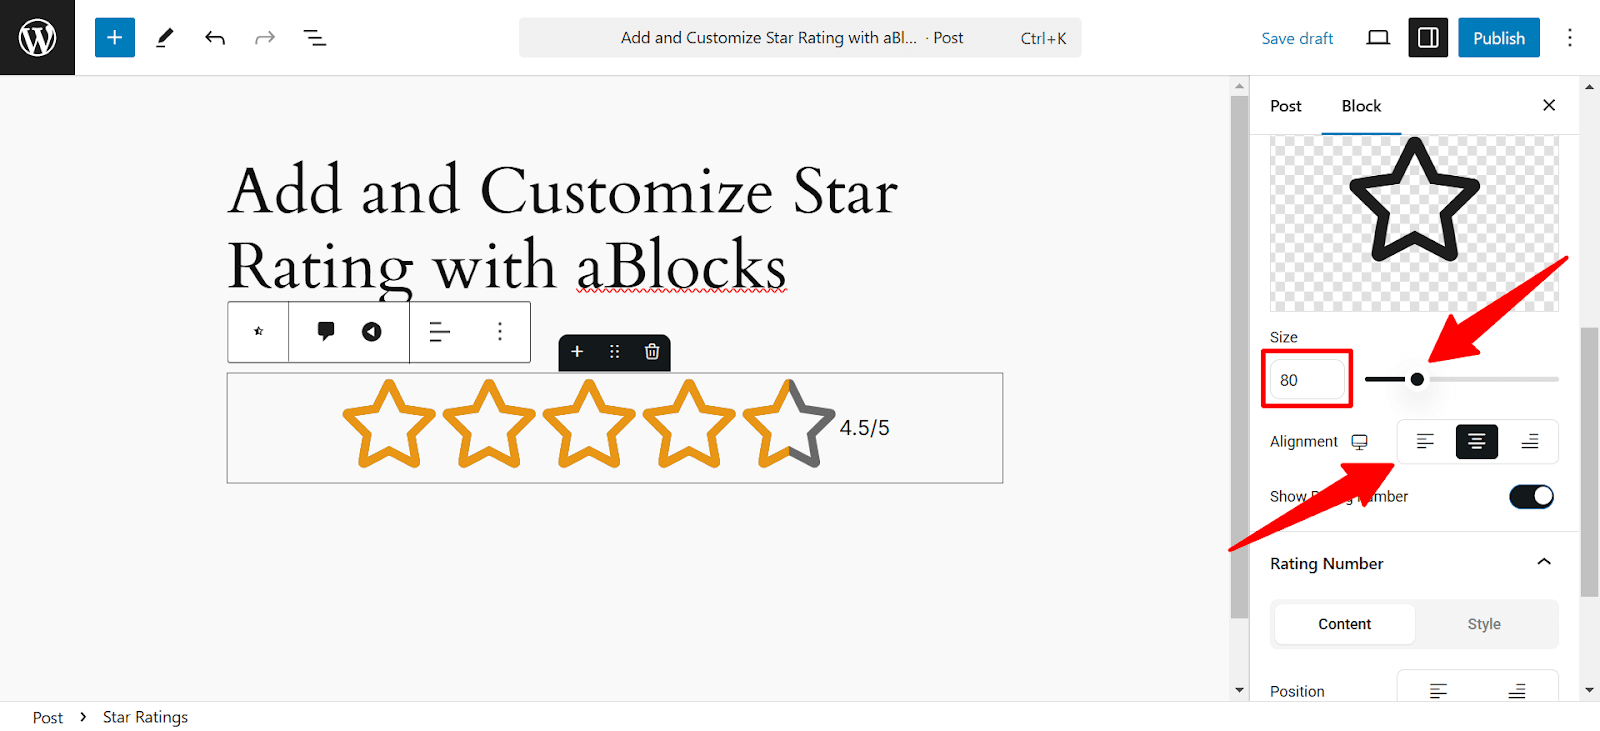
Alignment: You can set your star rating alignment from here. You can set it to left, right, and middle.
Show Rating Number: This toggle lets users see the number of ratings. You can also hide the numbers by turning off this toggle. We will discuss this section in detail at the end.
Star Rating Style
Spacing: Here, you can manage the space between two stars of your star rating. Put a number on the spacing box or drag the pointer to adjust the spacing.
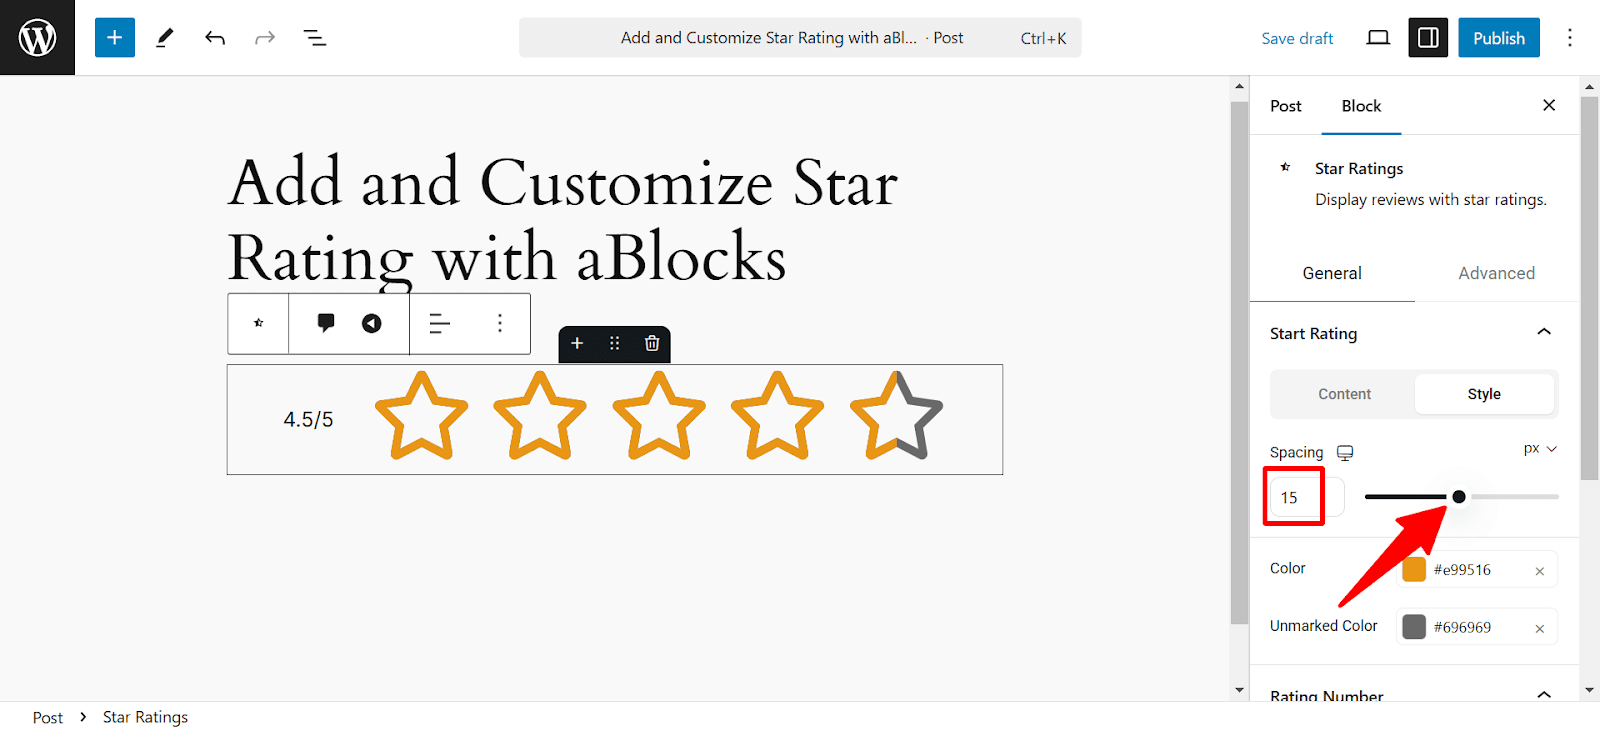
Color: You can set the color of your star rating from here. Simply click on color and adjust it to fit your needs. If you want to learn more about aBlocks’ advanced color settings, please follow the documentation.
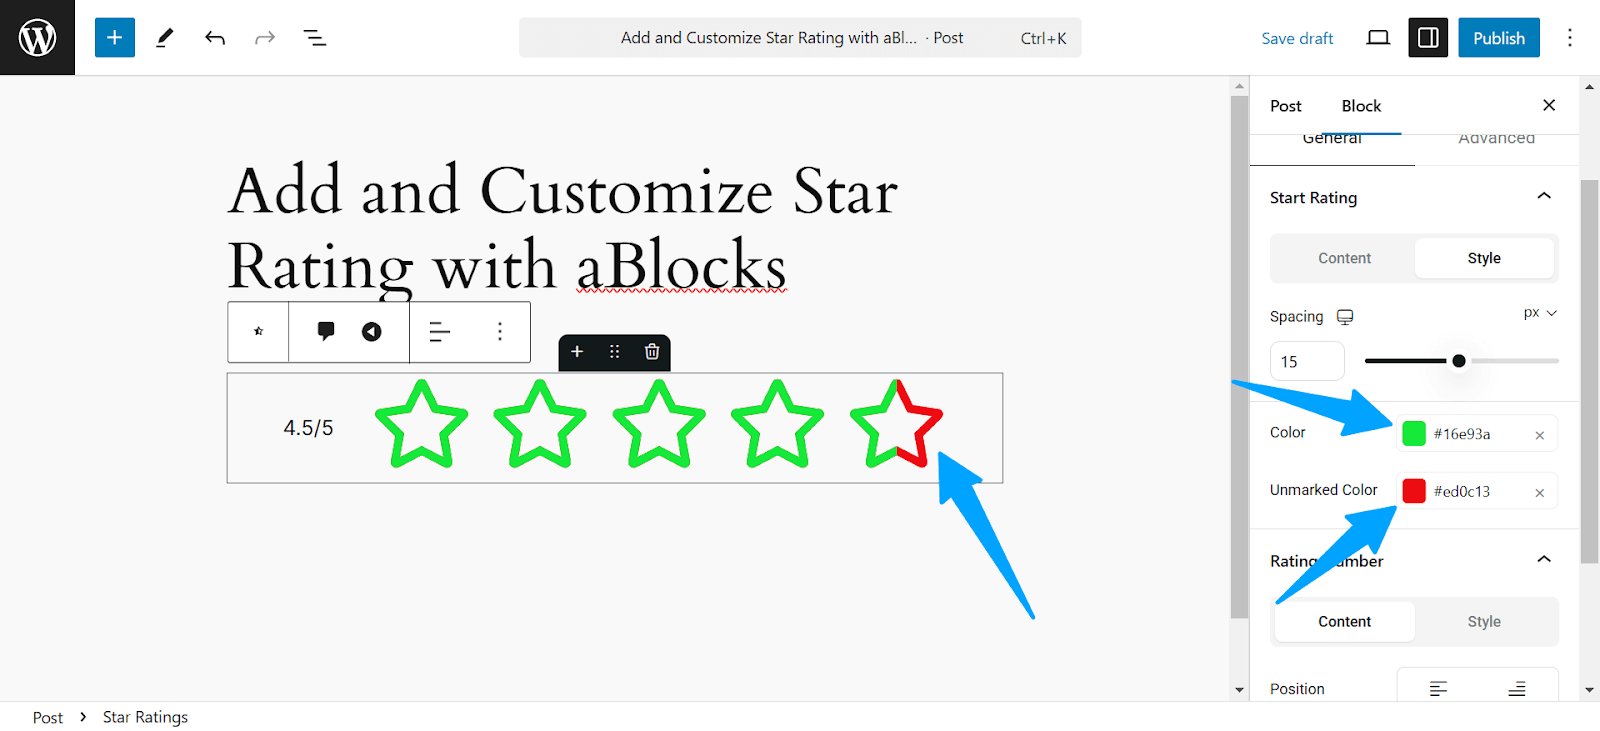
Unmarked Color: Here you can set the color of the unmarked star rating section
Show Rating Number and Customization
When you enable Show Rating Number, You can see an extra customization field named Rating Number. Here, you can customize the rating number. Let’s see how:
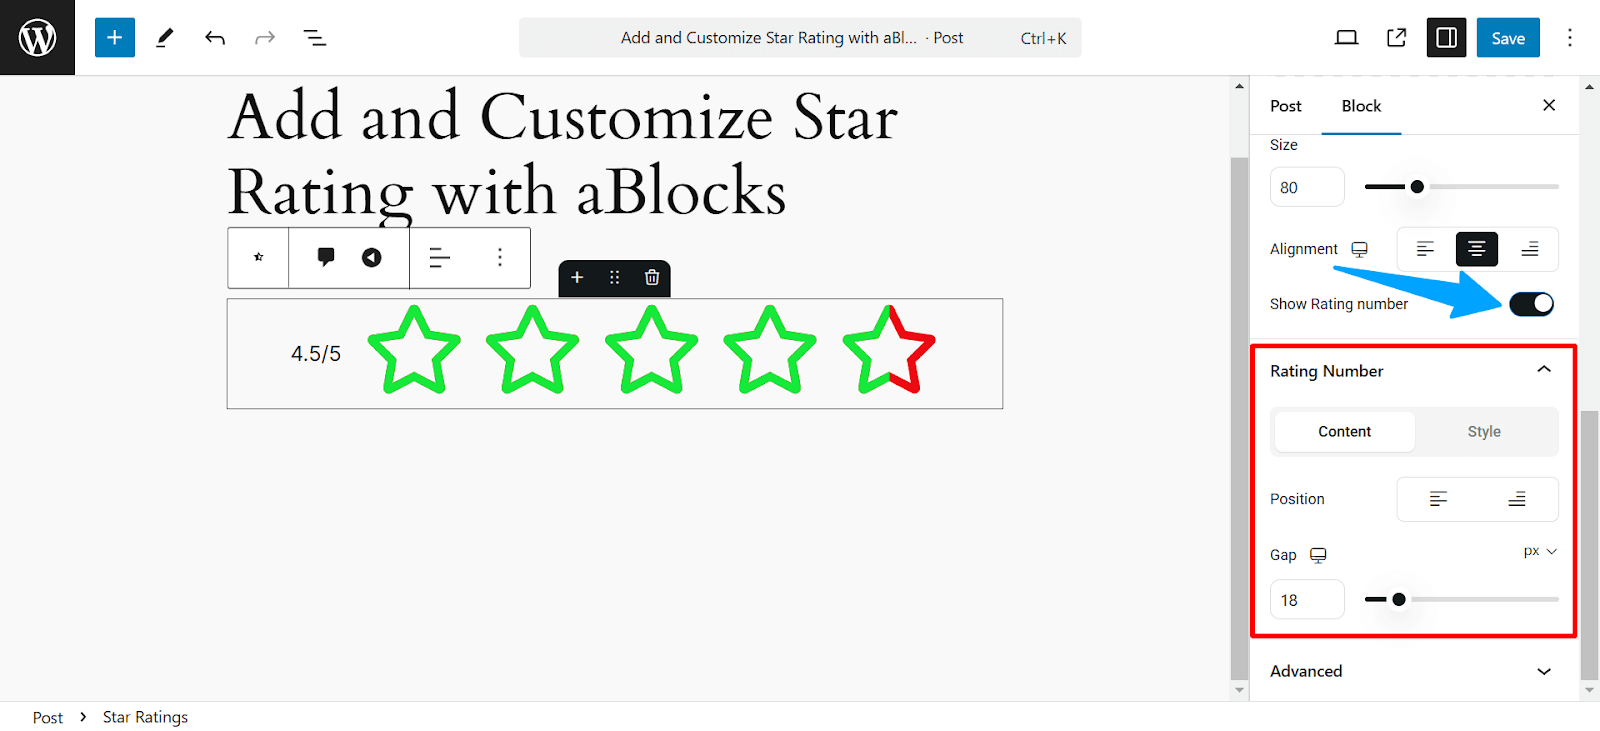
You will see two options in the Rating Number: Content and Style.
Rating Number Content
Position: Here, you can set the position of the star rating number. You can set it to the left or right of your star rating icon.
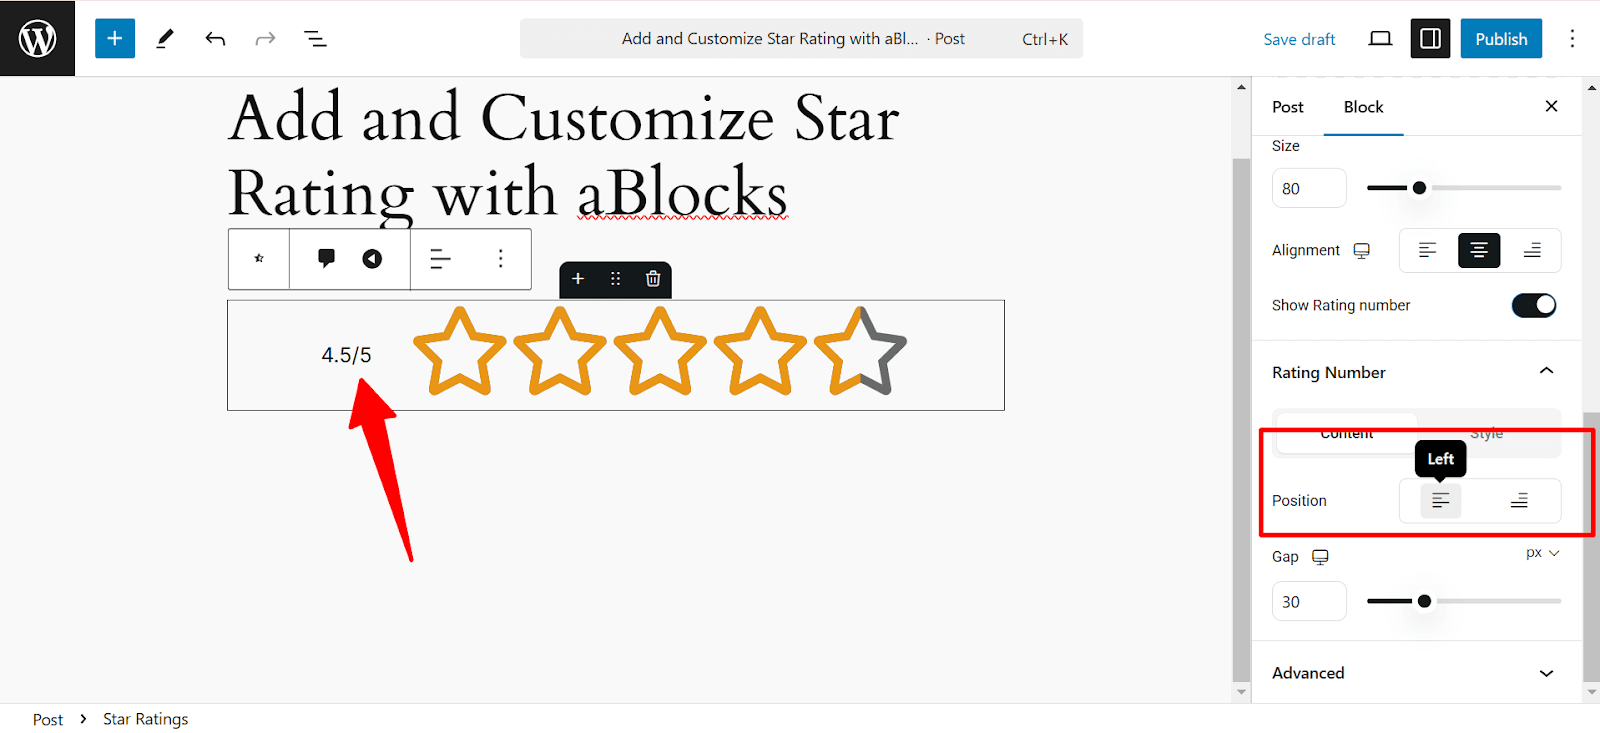
Gap: Here you can set the gap between the star rating icon and the rating number. Simply put the number on the box or drag the pointer to set the gap. You can measure it with PX, Percent, and REM
Rating Number Style
Color: Here, you can set the color of your rating number. If you want to learn and customize more, then check our aBlocks advanced color settings documentation.
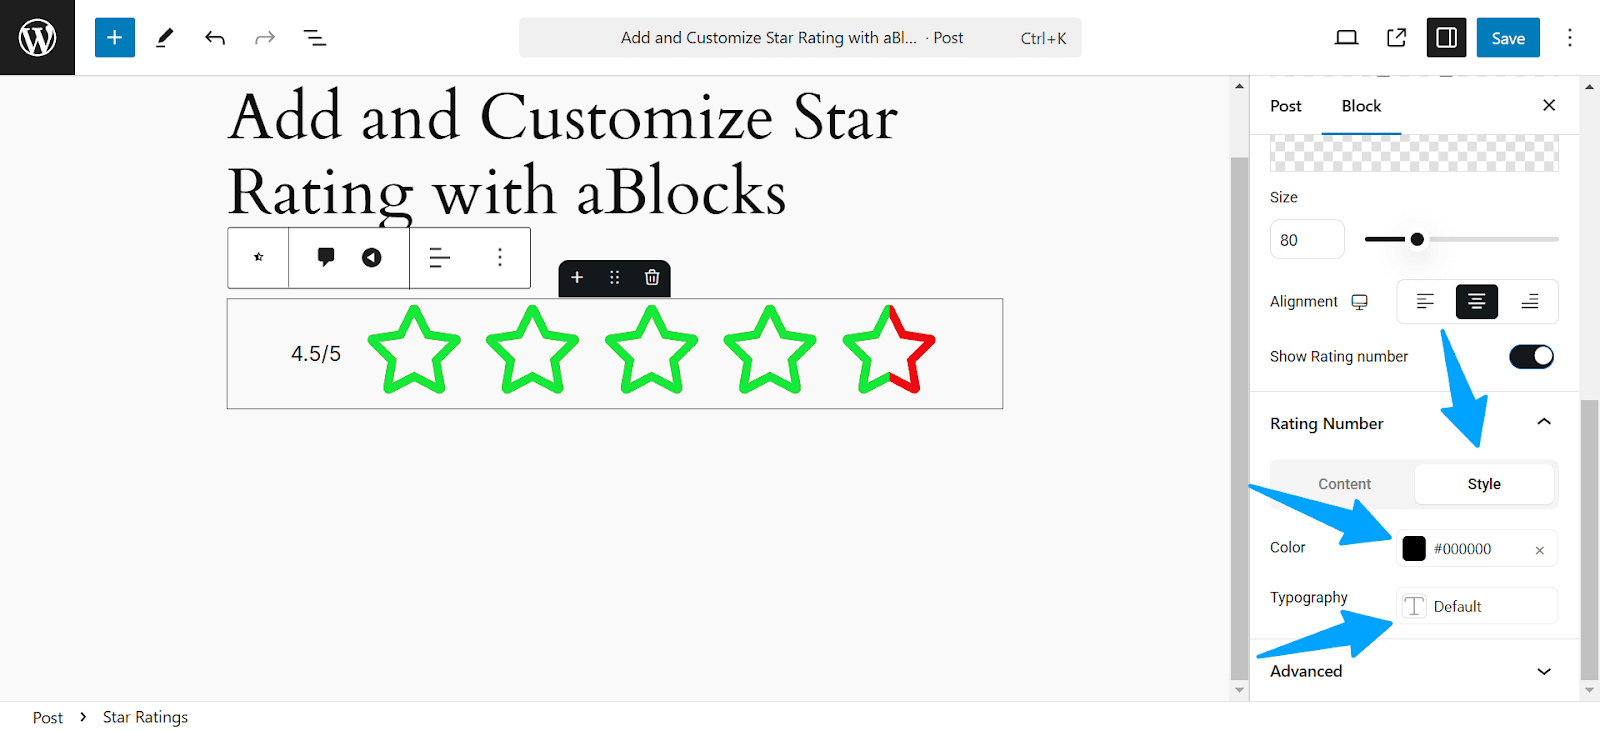
Typography: From typography, you can change or customize the Front Family, Size, Weight, Transform, Style, Decoration, line height, Letter Spacing, and Word spacing. To learn more about typography settings, check our ablocks typography settings documentation.
Here is all about aBlocks Star Rating Block. If you are still having problems, please create a support ticket. Our dedicated support team is always ready to help you.
Here are the amazing features of aBlocks that I must reveal to you. If you have a Figma design, you can easily convert it into your website. Use the aBlocks Figma to WordPress copy past features to do that.