


Spacer blocks help you control the spacing between elements on your WordPress pages. Customizing these Spacer Blocks with aBlocks becomes easier and more effective, allowing you to fine-tune your layout for a balanced look. Follow this simple guide to adjust your Spacer Blocks with aBlocks.
How to Add aBlocks Spacer Block
Open your site’s admin dashboard and begin creating a new page.
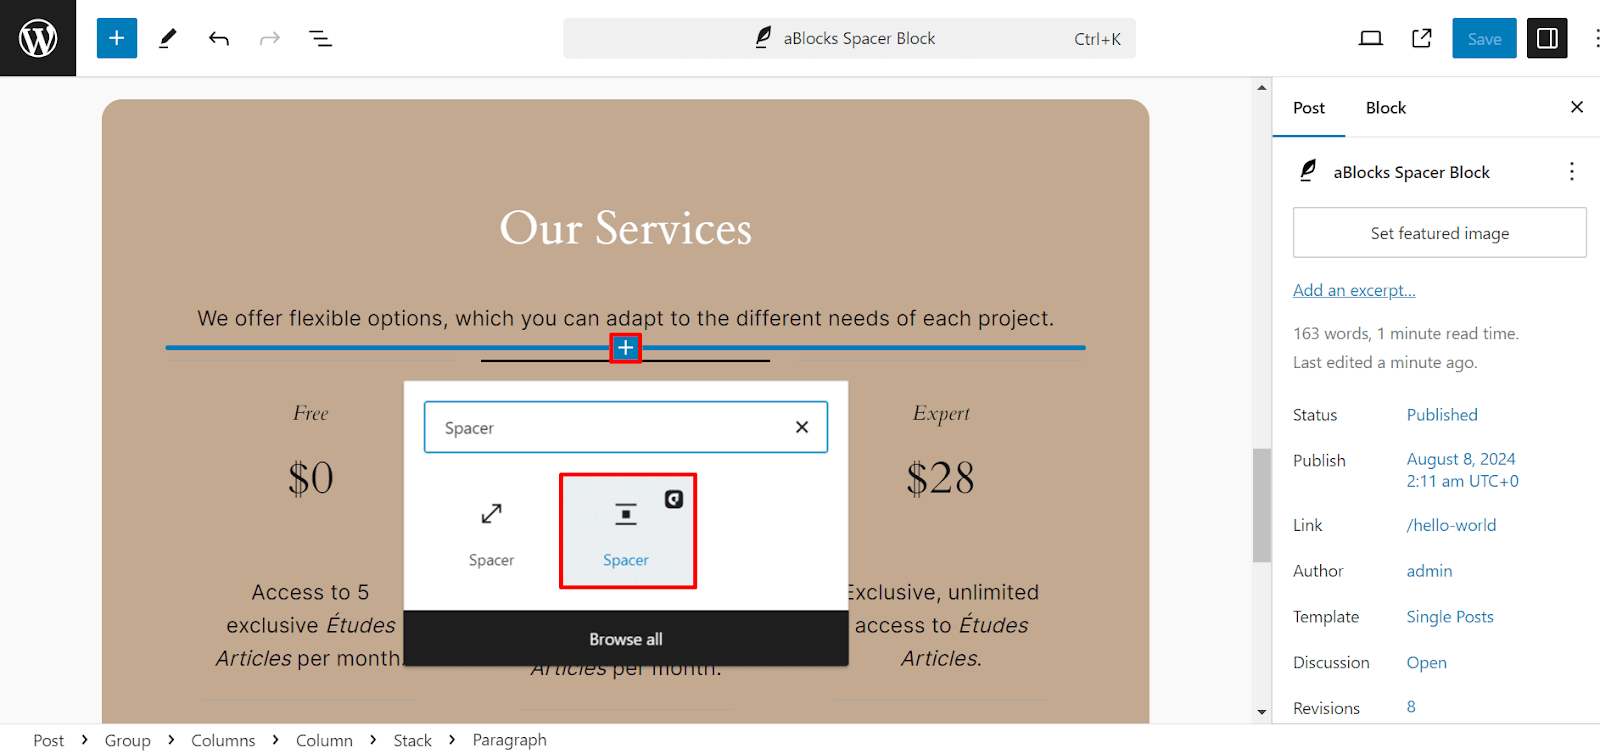
Now, tap the (+) icon to bring up the block options.

Now you can see all the blocks of aBlocks. Select the aBlocks Spacer Block from the list.
Customizing aBlocks Spacer Block: Step by Step Guide
Let’s see the complete usage and customization settings of aBlocks Spacer Block step by step.
General & Advanced
After selecting the aBlocks Spacer block, you will see the General and Advanced sections on the right side. These sections make it easy to customize your spacer.
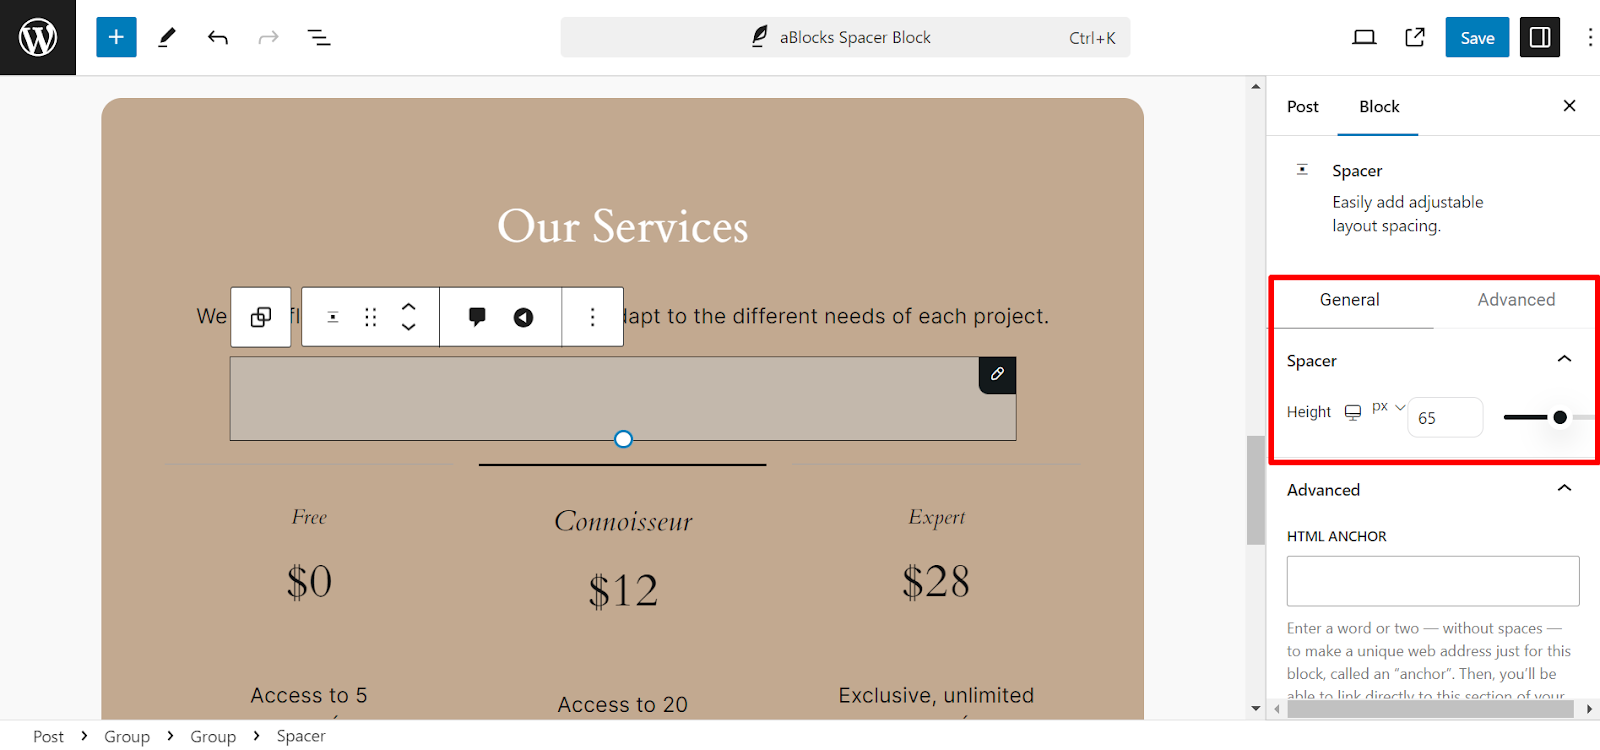
General
The General section of the aBlocks Spacer Block includes basic customization options. Here’s a quick breakdown:
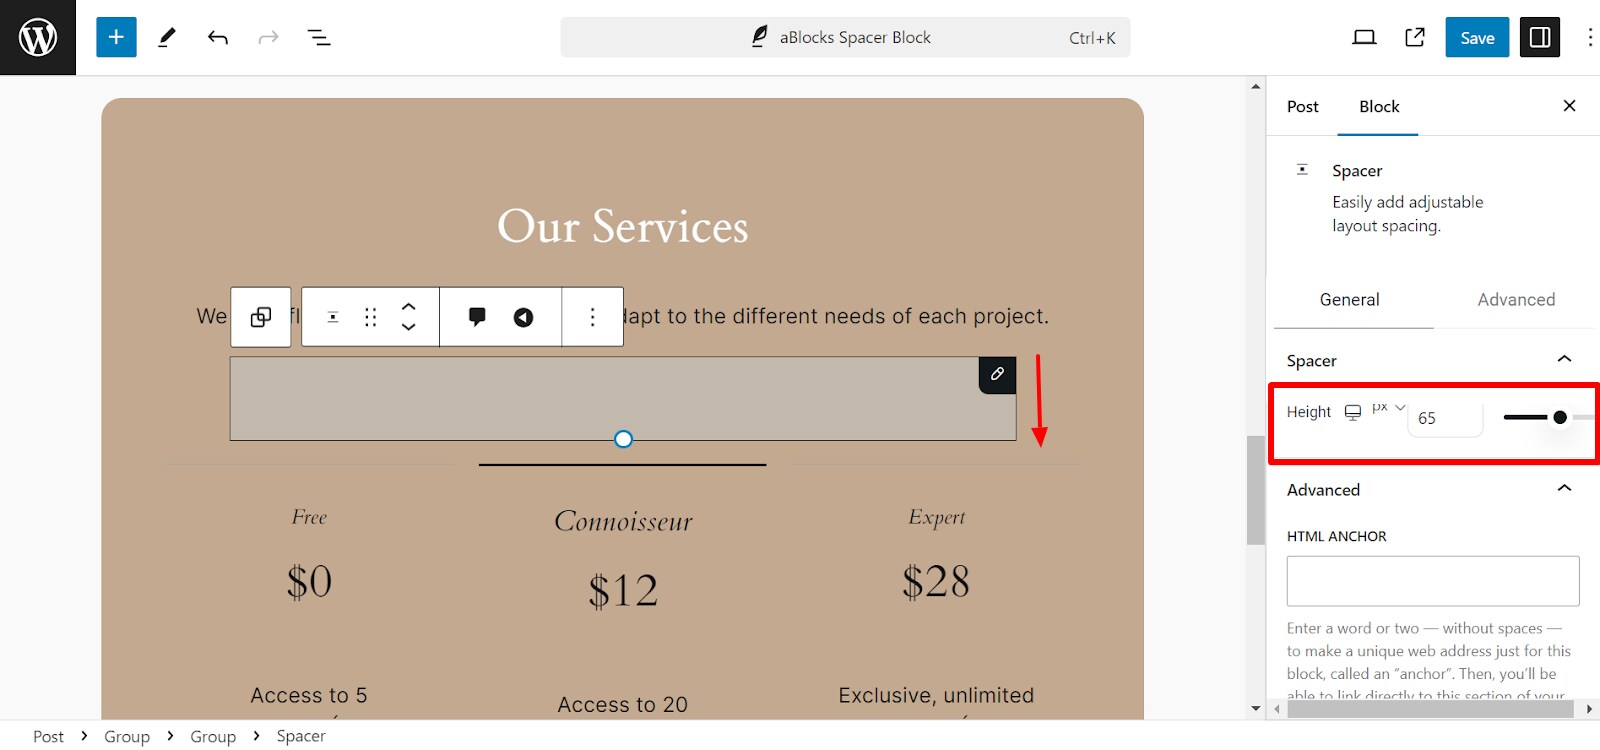
Height:
- You can adjust the spacer height using the slider or input a value directly in pixels (px).
- This controls the vertical space the block adds between other elements on the page.
The General section allows you to quickly modify the block’s size, making it simple to adjust spacing in your layout.
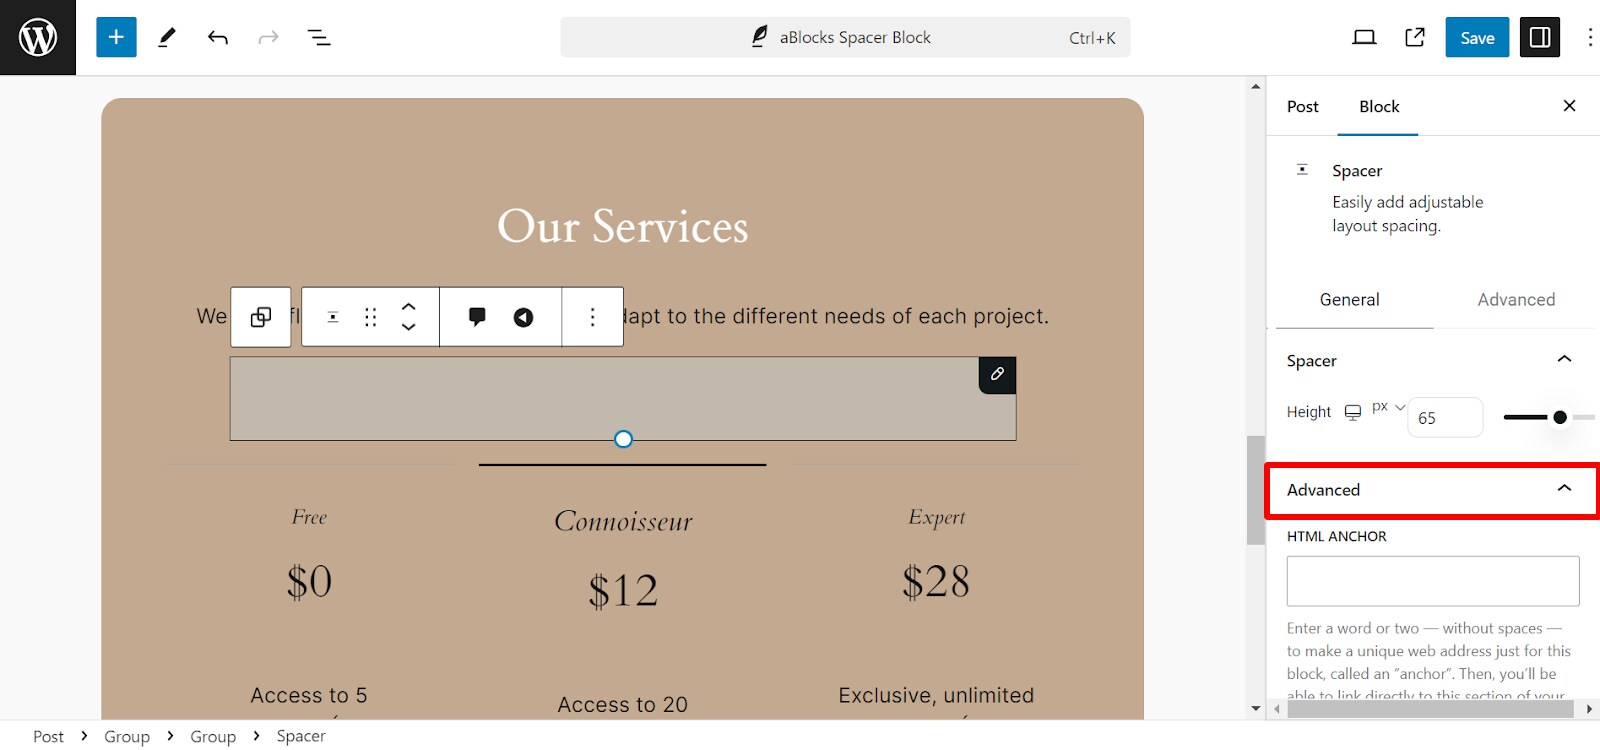
Advanced: In this section, you can see two options:
- HTML Anchor
- Additional CSS Class(es)
1. HTML Anchor
This option allows you to assign a unique ID to your Spacer Block. By adding an anchor, you can create a direct link to this specific part of the page, making navigation easier for users.
2. Additional CSS Class(es)
Here, you can add custom CSS classes to your Spacer Block. This gives you more styling flexibility by allowing you to apply custom styles from your theme’s stylesheet or directly through the WordPress Customizer.
These advanced settings offer more control for users who want to tailor their blocks further.
You can also check out our blog post on: “How to Add Space Between Blocks in WordPress Using aBlocks?”