


The Display Conditions feature in aBlocks lets you show or hide specific elements on your WordPress site based on rules you set.
It’s perfect for creating personalized content experiences or locking content for premium users. Whether you’re targeting specific audiences or scheduling content visibility, this tool is easy to use and powerful.
Why Use Display Conditions?
This feature helps you:
- Lock premium content: Hide exclusive content from non-paying users.
- Personalize experiences: Show custom messages or offers to logged-in users or specific roles.
- Time-sensitive visibility: Automatically hide elements when they’re no longer needed, like a limited-time sale.
Follow these steps to set up display conditions in aBlocks.
Step-by-Step Guide to Setting Display Conditions
Step 1: Open Display Conditions
In the WordPress editor, select the block you want to control. In the block settings, go to aBlocks Settings > Advanced > Display Conditions.
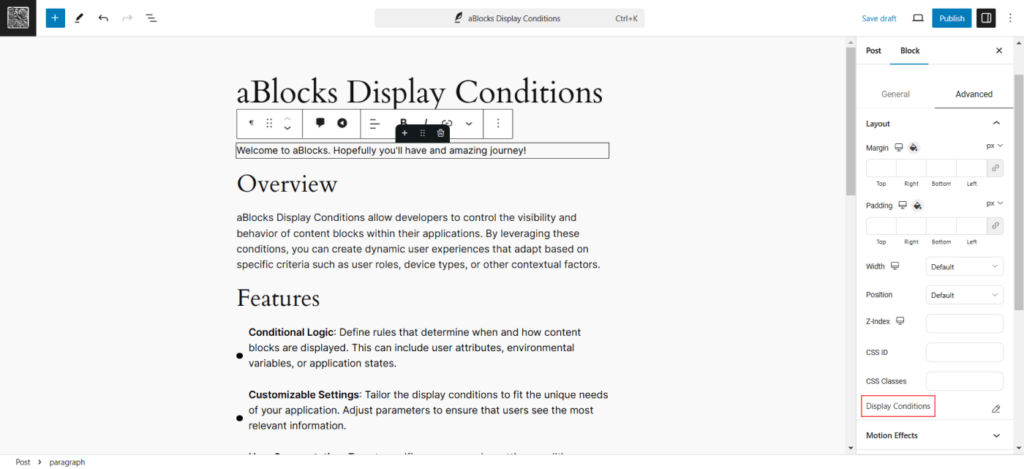
A pop-up window will appear, ready for setup.
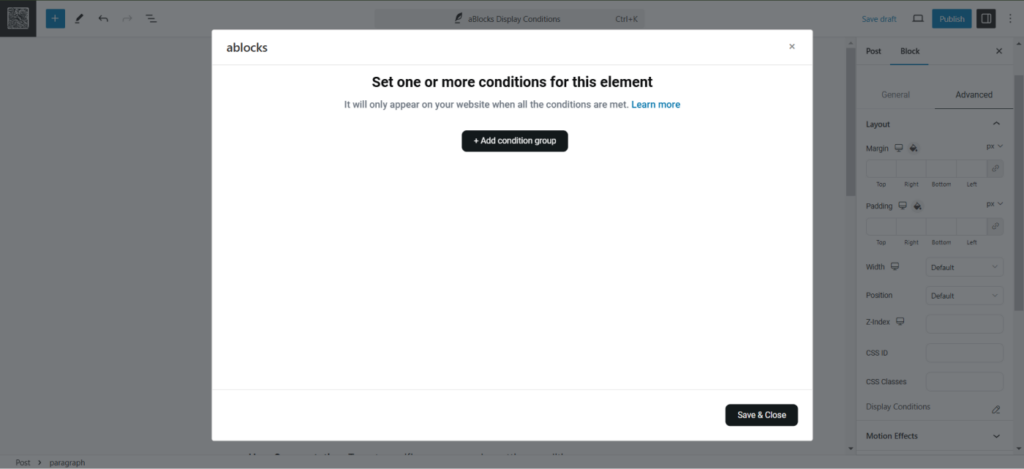
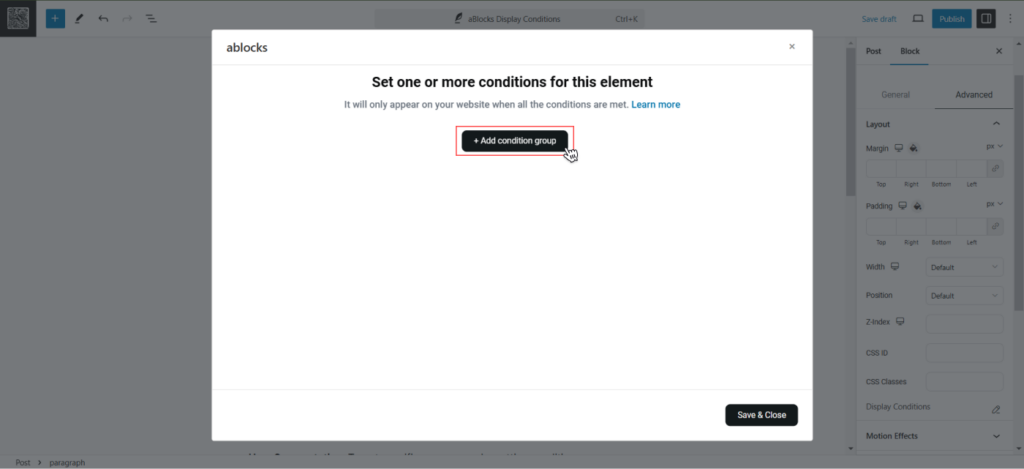
Step 2: Add a Condition Group
Click on the + Add Condition Group button to create a set of rules.
Now, define the rules using dropdown menus:
First Dropdown Options
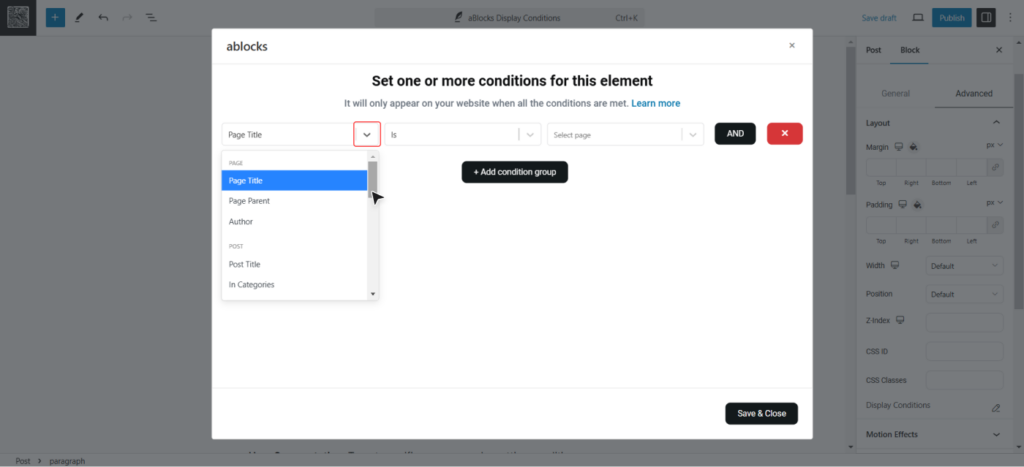
Post Conditions
- Post Title
- In Categories
- In Tags
- Date Modified
- Date of Publish
- Author
- Number of Comments
- Featured Image
User Conditions
- Login Status
- Role
- Registration Date
Date Conditions
- Day of the week
- Time of the day
- Current Date
Archive Conditions
- Of Categories
- Of Tags
- Of Authors
Note: We have shared a detailed overview of the conditions and what they do in the later part of the documentation. So, if you want to learn it in detail don’t forget to check it out!
Second Dropdown Options
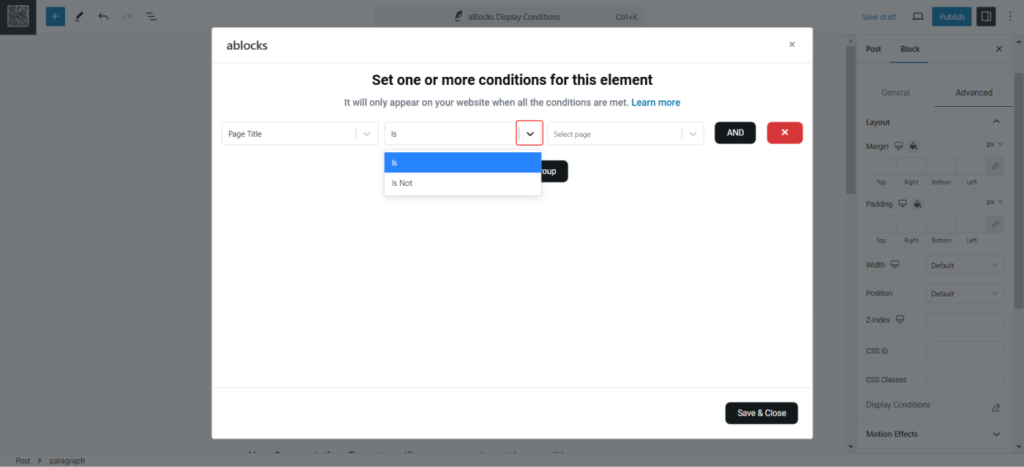
- Is: The element will show if the condition is true.
- Is Not: The element will hide if the condition is true.
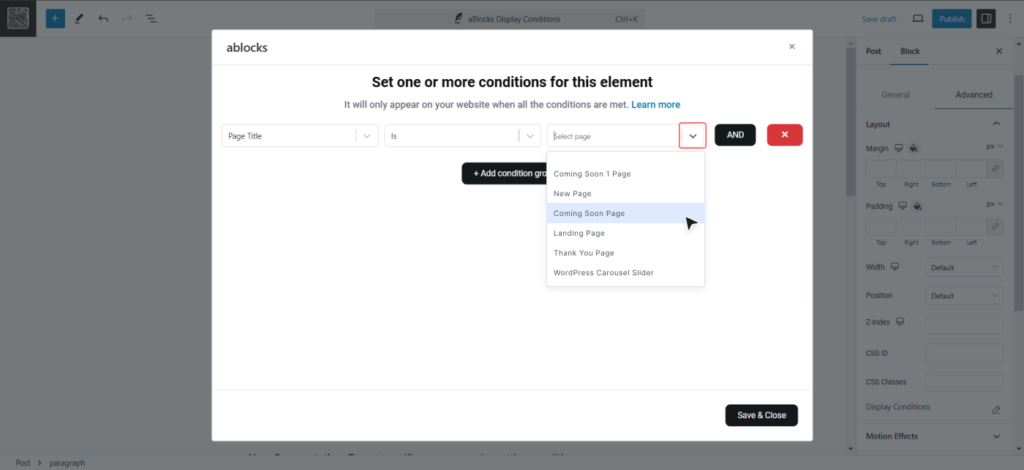
Third Dropdown Options:
Select specific data to match the condition. For example, choose a particular page, post, or user role.
Step 3: Save and Apply the Conditions
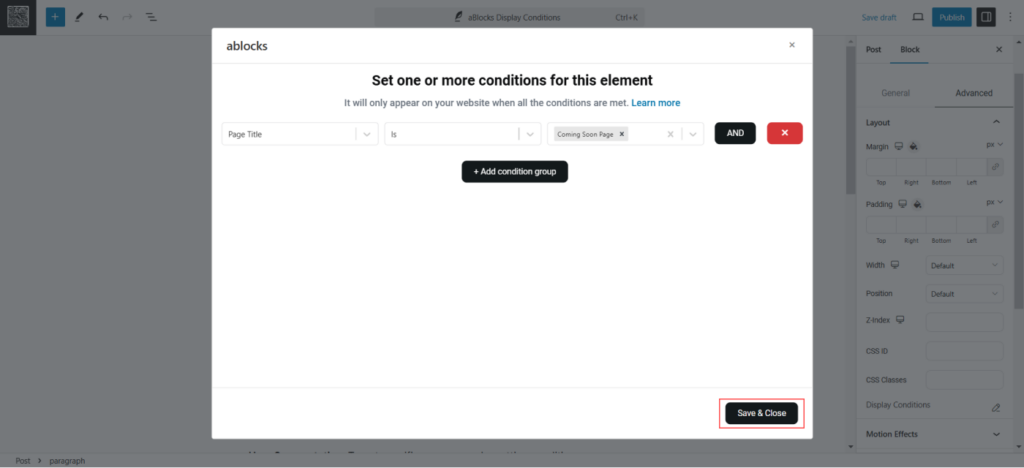
After setting the rules, click Save & Close to confirm. Finally, click Update or Publish on your page or post to activate the display conditions.
Step 4: Multiple Conditions
You can also create multiple conditions, by clicking the +Add Condition Group Button or by clicking the AND button.
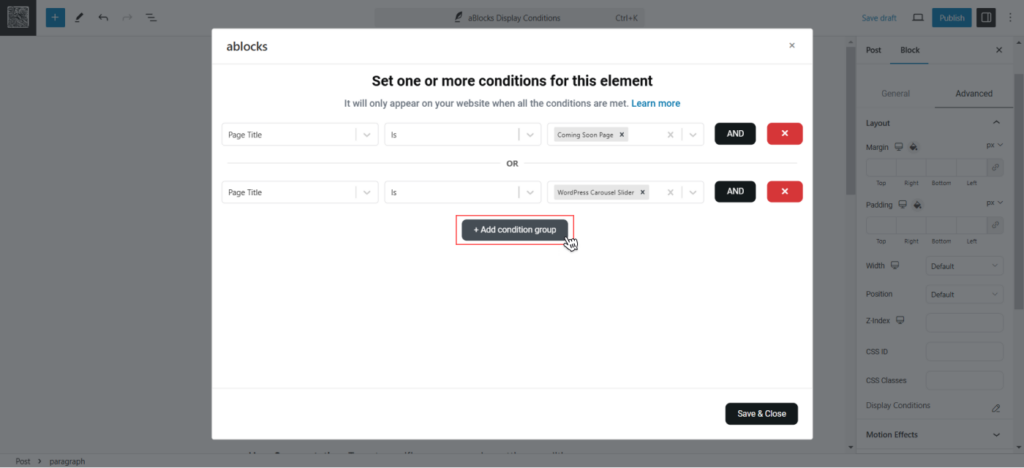
Important Note: You can do AND / OR conditions with aBlocks. Click the AND button for AND conditions. Click the +Add Condition Group for OR conditions.
aBlocks Display Conditions: Detailed Overview (With Real-life Examples)
The Display Conditions feature in aBlocks empowers you to show or hide elements on your WordPress website based on specific criteria.
Whether it’s tailoring content for logged-in users, creating exclusive sections for certain roles, or setting time-based visibility, aBlocks makes it simple and effective. Below are the available conditions and their uses in detail.
Page-Based Conditions
Control visibility based on the page’s attributes, such as its title, hierarchy, or author.
- Page Title: Display elements only on specific pages by their title. For instance, show a custom header only on the “About Us” page.
- Page Parent: If your site has a parent-child page structure, you can target child pages based on their parent. For example, all child pages under the “Services” page can display a contact button.
- Author: Target content by the author of the page. For example, show a bio section only on pages created by a specific author.
Post-Based Conditions
Customize visibility based on the post’s metadata, category, tags, or author.
- Post Title: Display elements only on posts with specific titles. For instance, show a promotional banner on a post titled “Black Friday Sale.”
- In Categories: Show or hide content based on the post’s category. For example, add a special offer banner to posts in the “Travel” category.
- In Tags: Target posts tagged with specific keywords. For instance, show a countdown timer on posts tagged as “Limited Offer.”
- Date Modified: Highlight posts that were recently updated. For example, display a “Recently Updated” badge on posts modified in the past week.
- Date of Publish: Control visibility based on when the post was published. For example, hide outdated announcements for posts published before a specific date.
- Author: Display content created by specific authors. For instance, show a signature widget only for posts written by your lead editor.
- Number of Comments: Target posts with a specific number of comments. For instance, highlight highly-engaged posts with more than 50 comments.
- Featured Image: Display elements only if the post has a featured image. For example, show a gallery widget for posts with a featured image.
User-Based Conditions
Control what users see based on their status, role, or registration details.
- Login Status: Show or hide elements based on whether the user is logged in. For instance, display a discount code for logged-in users only.
- Role: Target users with specific roles, such as Admin, Subscriber, or Editor. For example, show admin-only notes on the dashboard.
- Registration Date: Control content based on when a user registered. For example, display a “Welcome New Member” banner for users who registered within the past week.
Date and Time-Based Conditions
Schedule content visibility based on the time, day, or current date.
- Day of the Week: Show elements based on the day. For example, display a “Weekend Sale” banner on Saturdays and Sundays.
- Time of the Day: Target content visibility for specific times. For instance, show a “Good Morning” message in the morning and a “Good Evening” message at night.
- Current Date: Customize visibility based on the current date. For example, display seasonal graphics during specific months.
Archive-Based Conditions
Tailor content visibility for archive pages based on the post’s categories, tags, or authors.
- Of Categories: Target archive pages with posts in specific categories. For example, show a sidebar ad for “Electronics” on an archive page of that category.
- Of Tags: Display elements based on tags in archive pages. For instance, show a promotional banner for items tagged “Clearance.”
- Of Authors: Highlight archive pages for specific authors. For example, display a profile widget on an author’s archive page.
Example Use Case: Locked Content for Premium Users
Using Display Conditions, you can lock exclusive content for premium users:
- Set the User condition to show content only for logged-in users with the “Subscriber” or “Member” role.
- This ensures non-members cannot view the content, keeping it secure and reserved for premium access.
The Display Conditions feature in aBlocks is simple to use but offers powerful customization. Whether you want to personalize your website, schedule visibility, or lock premium content, this feature gives you complete control over what your audience sees.
Try it today to improve your site’s functionality and user experience.