


The aBlocks Table of Content Block lets visitors jump to different sections of your content with one click. It works best for long posts, guides, or any page with multiple headings.
This step-by-step guide shows how to add the block, adjust the design, and use advanced settings with ease.
Add aBlocks Table of Content Block
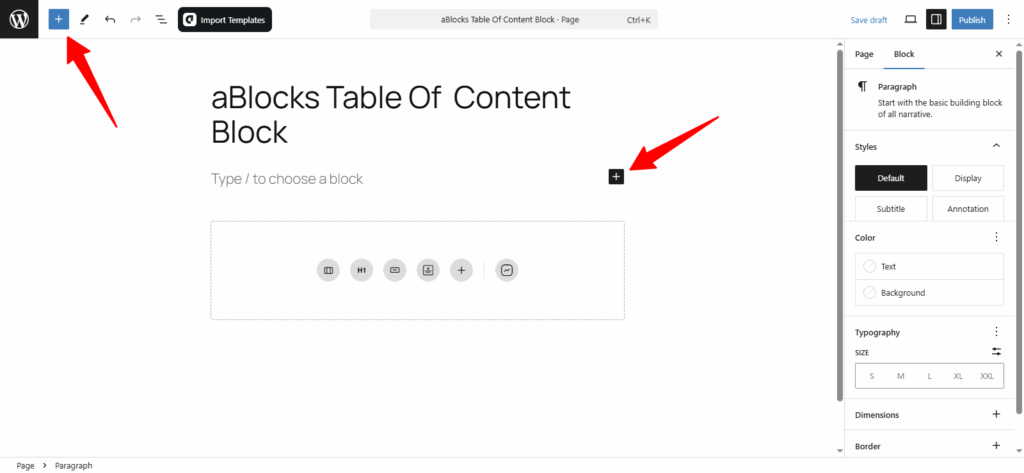
Open any post or page in the Gutenberg editor.
Click the (+) button to add a new block.
Now, all the blocks from aBlocks are visible to you. Then search for Table of Content under the aBlocks section. Once you find it, click to insert it into your page.
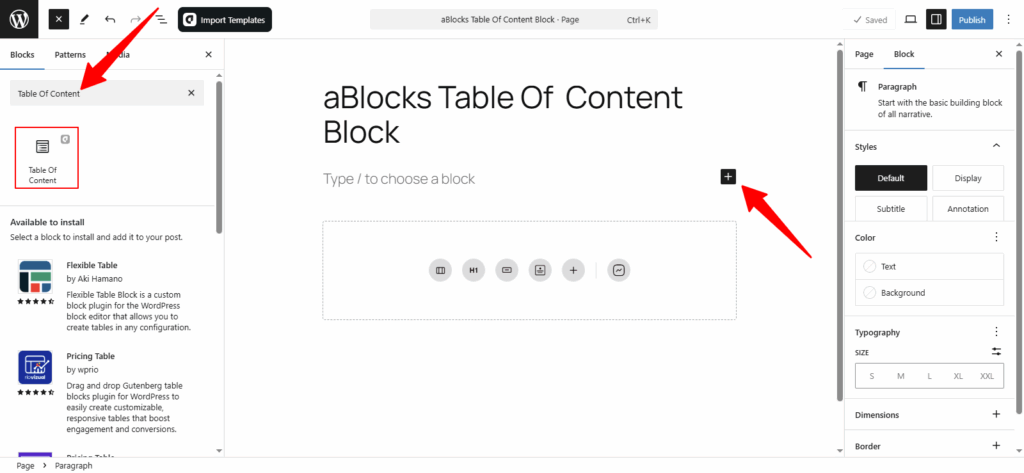
Just by clicking, the Table of Contents will be added to your page or post.
Now you can add, edit, or style it just the way you like.

Customize the aBlocks Table Of Content Block
This guide will help you use and customize the aBlocks Table of Contents block with simple, step-by-step instructions.
To start editing, select the Table of Contents block and go to the right-side panel.
Then click on Block > General.
Here, you’ll find three main options to control how it looks and works:
- Table of Content Options
- Lists Settings
- Collapsible Settings
Let’s go through each of these one by one.
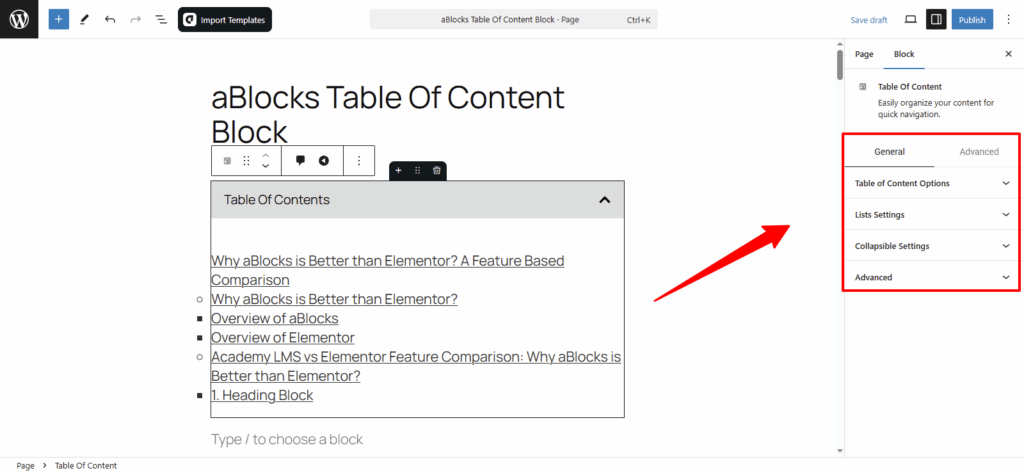
Table of Content options
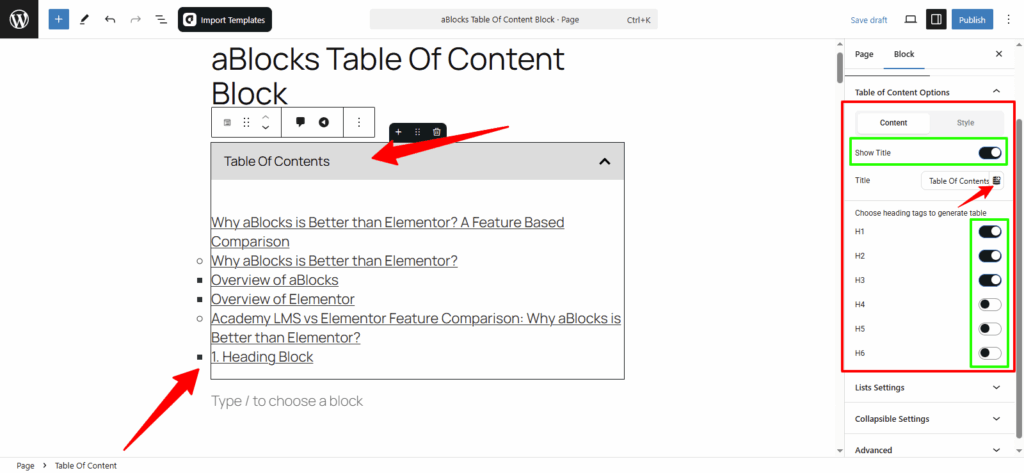
This section has two parts: Content and Style
Content
In the Content tab, you’ll first see the Show Title option. This is a toggle switch—turn it off to hide the Table of Contents title or turn it on to display it. Once enabled, a Title field appears where you can write your own title. You’ll also notice a Dynamic Content icon beside it, which lets you use dynamic values instead of static text.
To learn more about this feature, check the aBlocks Dynamic Content documentation.
Just below, there’s the Choose heading tags to generate table section. Here, you can control which heading levels (H1 to H6) appear in the Table of Contents. Use the toggle switches to include or exclude heading levels based on your post structure.
Style
In the Style section, you’ll find several settings to change the look of your Table of Content block. Let’s go through them one by one.
Header Style
Title Color: Change the color of the header title from here. Choose any color that fits your design.
Title Typography: Adjust the font style, size, weight, and spacing of the header title. If you’re new to typography settings, you can check our detailed guide: aBlocks Typography Settings Documentation.
Header Background: Pick a background color for the header area to match your page style.
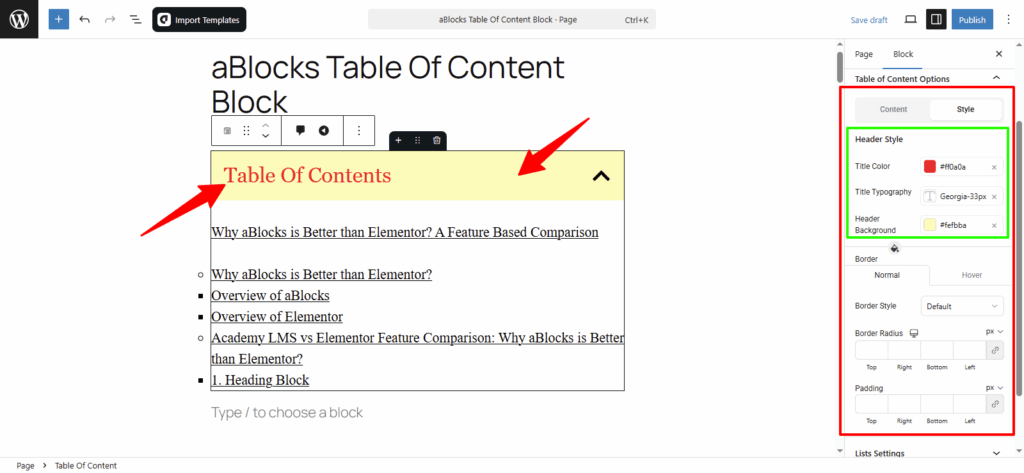
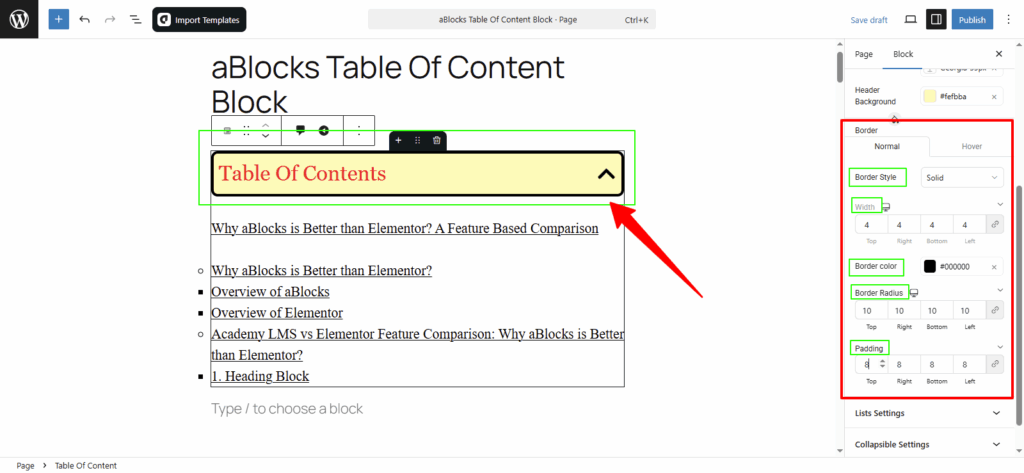
Table of Content Options Border Customization
You’ll find two tabs: Normal and Hover. Both have the same settings.
- Normal: Default border style.
- Hover: Shown when the user hovers.
Border Style: Choose from Solid, Double, Dashed, Dotted, Groove, or None.
Width: Set thickness for each side.
Color: Pick the border color.
Radius: Round the corners.
Padding: Add space inside the block.
Lists Settings
In this section, you’ll find two tabs: Content and Style.
Content
Under the Content tab, there is a Marker View option. This lets you choose how the items in your Table of Contents will appear. You can show them as either bullets or numbers, depending on the look you want for your page.

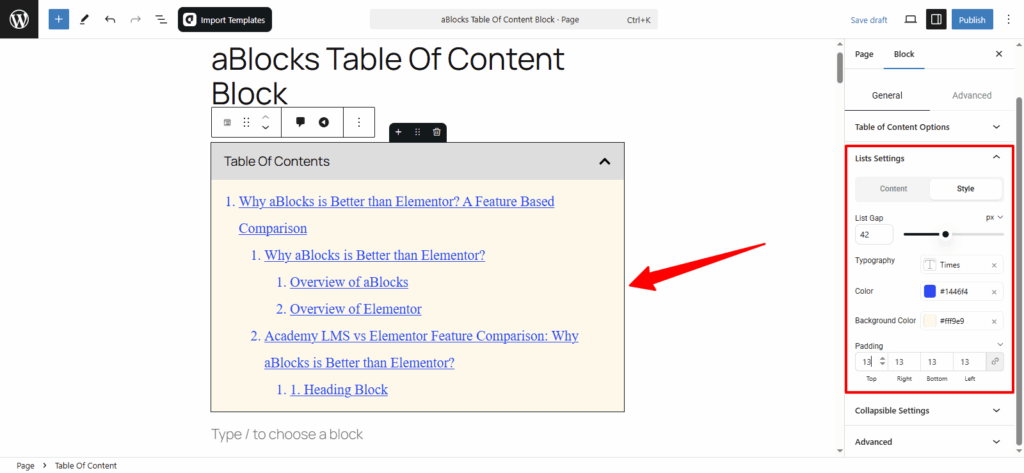
Style
In the Style tab of the Lists Settings, you can adjust the look of your Table of Contents with the following options:
- List Gap: Adjust the space between list items.
- Typography: Fully customize text style (check aBlocks Typography Settings for details).
- Text Color: Change the text color.
- Background Color: Adjust the background color behind the list.
- Padding: Adjust the space inside the Table of Contents box.
Collapsible Settings
In the Collapsible Settings, you can adjust both Content and Style options:
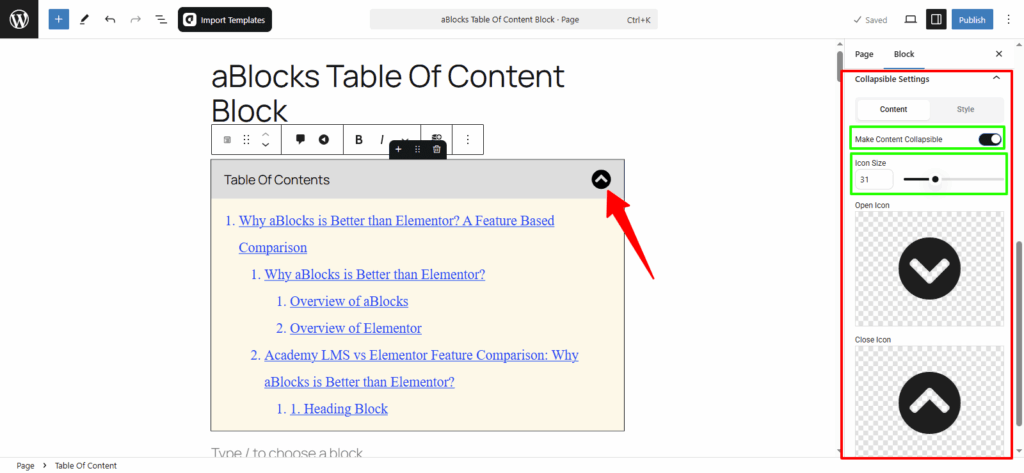
Content
Toggle this option to enable the collapsible feature.
Make Content Collapsible: Toggle to make the content collapsible. Once enabled, you’ll see an option to adjust the icon size. You can increase or decrease the icon size as needed.
- Open Icon: You can delete the current open icon and upload a new one.
- Close Icon: Similarly, you can delete the current close icon and upload a new one.
If you turn off the toggle button, the icon will no longer show in your Table of Contents.
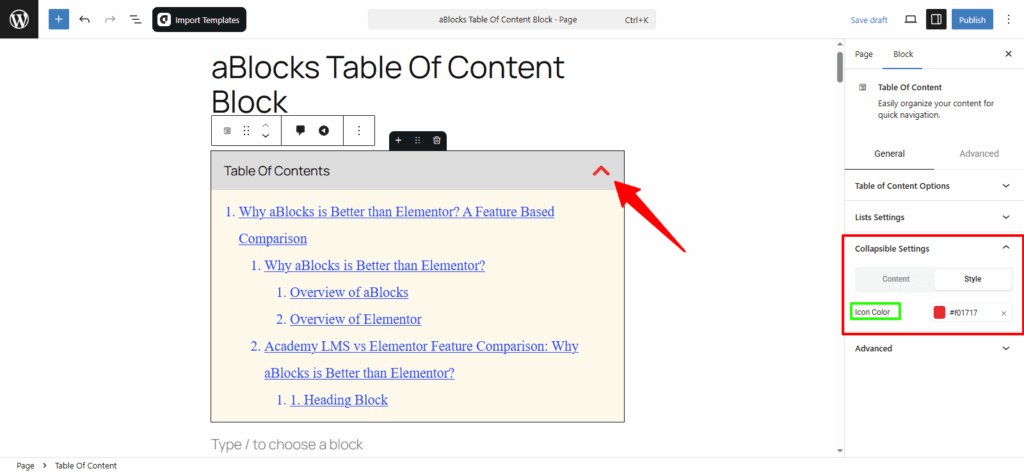
Style
Icon Color: You can change the icon color from here.
Conclusion
The aBlocks Table of Content Block helps users quickly move through long posts or pages. You can easily add it, customize the design, and control how it works—from showing headings to making it collapsible. It’s a handy tool for improving both navigation and readability.
If you need any help, feel free to reach out to the aBlocks support team. We’re always here to assist you.